Introduction
If you’re looking for a dessert that’s as delightful to the palate as it is visually stunning, the Strawberry Earthquake Cake is an excellent choice. This cake combines the irresistibly sweet flavor of strawberries with a rich, creamy topping that creates a delightful explosion of taste in every bite. With its moist texture and unique presentation, this cake is perfect for various occasions—whether it’s a birthday party, a casual family gathering, or simply a sweet treat to enjoy at home. The Strawberry Earthquake Cake is not only a feast for the senses but also a conversation starter that will leave your guests wanting more.
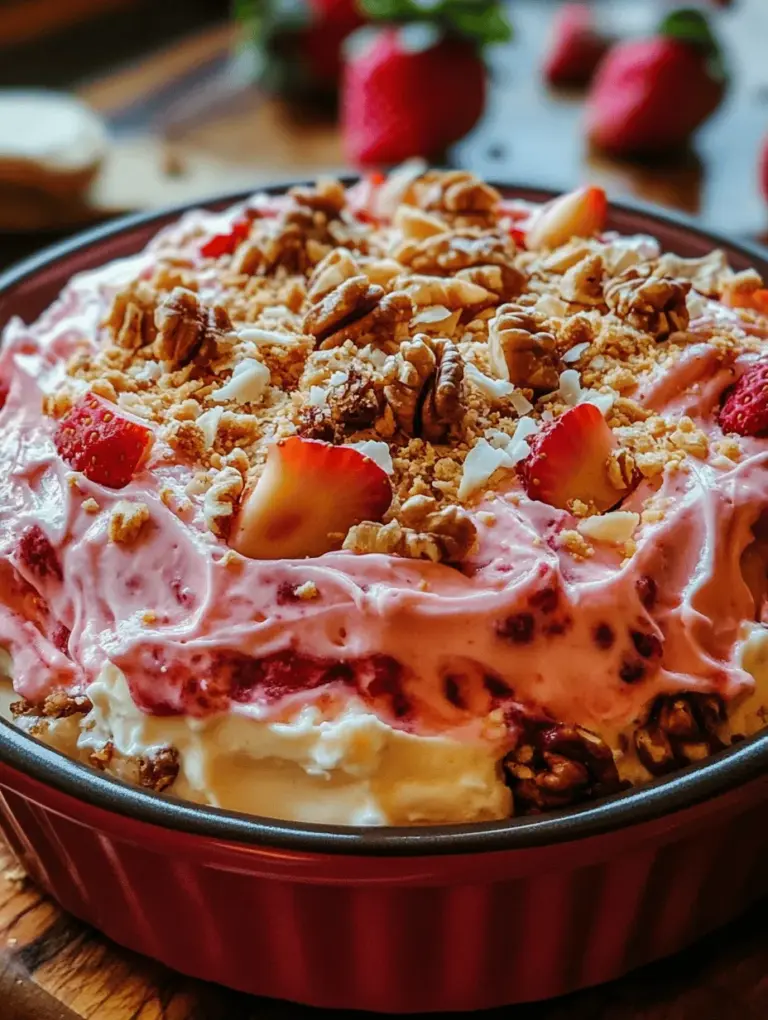
One of the standout features of this cake is its marbled cream cheese topping, which is the perfect complement to the strawberry-infused cake base. This visually appealing dessert boasts a moist crumb texture that is sure to mesmerize anyone who takes a slice. Plus, the combination of flavors—from the sweet strawberries to the tangy cream cheese—creates a complex taste profile that is both comforting and sophisticated.
Understanding Strawberry Earthquake Cake
The Strawberry Earthquake Cake is much more than a dessert; it’s an experience. The cake’s texture is incredibly moist, thanks to the use of strawberry cake mix and fresh strawberries, which infuse it with a burst of flavor. The cream cheese topping adds a luscious layer that makes each bite feel indulgent. The name “Earthquake Cake” originates from the distinctive look of the cake when baked; the cream cheese mixture swirls into the cake batter, creating a marbled effect that resembles the cracks and crevices of the earth after an earthquake. This eye-catching presentation makes it an ideal dessert for special occasions, as it effortlessly draws attention and admiration.
The popularity of the Strawberry Earthquake Cake has surged in home baking circles, largely due to its simplicity and the joy it brings to gatherings. As a crowd-pleaser, this cake appeals to both children and adults alike, making it a versatile choice for any celebration. Whether served warm or chilled, this delicious cake maintains its moistness and flavor, ensuring that it will be enjoyed long after the last slice is served.
Ingredients Breakdown
Creating the perfect Strawberry Earthquake Cake begins with gathering the right ingredients. Below is a comprehensive list of what you’ll need for this delectable dessert:
For the Cake:
– 1 box strawberry cake mix: This is the foundation of the cake, providing the sweet strawberry flavor and moist texture. If you’re looking for alternatives, you can use homemade strawberry cake batter made from scratch, but the convenience of a box mix makes it an excellent choice for quick baking.
– 1 cup fresh strawberries, diced: Fresh strawberries not only enhance the cake’s flavor but also add a beautiful color and texture. While frozen strawberries can be used in a pinch, they may release excess moisture during baking, which could affect the cake’s consistency.
– Optional ingredients:
– 1 cup shredded coconut: Coconut adds a delightful chewiness and a hint of tropical flavor to the cake.
– ½ cup chopped nuts (walnuts or pecans): Nuts provide a crunch that contrasts beautifully with the soft cake and creamy topping, adding depth to the flavor profile.
For the Cream Cheese Topping:
– 8 oz cream cheese, softened: Cream cheese is essential for creating that creamy, rich topping. It adds flavor and moisture, making the topping decadently smooth.
– ½ cup butter, softened: Butter contributes to the richness of the topping, enhancing its flavor and helping it to spread easily over the cake.
– 2 cups powdered sugar: This sweetener is crucial for achieving the right level of sweetness in the cream cheese topping while maintaining a smooth texture.
– 1 tsp vanilla extract: This ingredient elevates the flavor of the cream cheese, adding a hint of warmth and complexity.
– Optional: 1 tbsp lemon juice: Adding lemon juice can brighten the flavor of the cream cheese topping, cutting through the richness and enhancing the overall taste profile.
Step-by-Step Instructions
Creating a Strawberry Earthquake Cake is a straightforward process, but it requires attention to detail to achieve the best results. Here’s how to get started:
Preparing the Oven and Pan
Before diving into the mixing, it’s important to prepare your baking environment:
1. Preheat your oven to 350°F (175°C): Preheating ensures that the cake bakes evenly and achieves the desired texture.
2. Grease and flour a 9×13-inch baking dish: This step is crucial to prevent the cake from sticking to the pan, allowing for easy removal once baked. You can use cooking spray, butter, or oil to grease the pan, and flour it lightly to ensure a non-stick surface.
Making the Cake Batter
Once your oven is ready and your baking dish is prepared, it’s time to make the cake batter:
1. Combine the cake mix with the required ingredients: Follow the instructions on the cake mix box, typically involving adding water, eggs, and oil. Mix until the ingredients are well combined, but be careful not to overmix, as this can lead to a denser cake.
2. Check the consistency: The batter should be smooth and slightly thick, with no lumps. If the batter appears too dry, you can add a splash of milk to adjust the consistency.
3. Fold in the fresh strawberries and optional ingredients: Gently mix the diced strawberries, shredded coconut, and nuts into the batter, ensuring they are evenly distributed without overworking the batter.
Adding Fresh Strawberries and Optional Ingredients
The final step before baking involves integrating the fresh strawberries and optional ingredients into your batter:
1. Gently fold the ingredients in: Use a spatula to carefully incorporate the strawberries and any optional ingredients into the batter. This will help maintain the integrity of the strawberries and ensure they don’t break down too much.
2. Pour the batter into the prepared baking dish: Spread the batter evenly across the bottom of the dish, making sure it reaches all corners for uniform baking.
With these initial steps completed, you’re well on your way to creating a Strawberry Earthquake Cake that is sure to impress. Stay tuned for the next part, where we’ll delve into the process of preparing the cream cheese topping and the final baking instructions that will bring this delicious cake to life.
Tips for Folding Ingredients Without Overmixing
One of the most critical steps in creating the perfect Strawberry Earthquake Cake is how you incorporate the ingredients. Overmixing can lead to a dense cake rather than the light and fluffy texture we all crave. Here are some effective tips to ensure you fold your ingredients correctly:
1. Use a Rubber Spatula: A rubber spatula is ideal for folding because of its flexibility. It allows you to scrape the sides of your mixing bowl while gently incorporating the ingredients.
2. Cut and Fold Technique: Instead of stirring in a circular motion, use the cut and fold method. This involves cutting through the batter with the spatula and lifting it up and over. Rotate your bowl a quarter turn each time you fold to ensure even mixing.
3. Incorporate Gradually: When adding dry ingredients to wet, do it in increments. Add a third of the dry mix, fold it in, then repeat until fully combined. This helps maintain the batter’s airiness.
4. Look for Streaks: Stop folding as soon as you no longer see dry streaks of flour or other ingredients. It’s better to have a few lumps than to overmix.
Pouring the Batter into the Baking Dish
Once your batter is perfectly mixed, it’s time to pour it into the baking dish. Here’s how to do it effectively:
1. Prepare the Baking Dish: Start by greasing and flouring a 9×13 inch baking dish to ensure the cake releases easily. You can also line the bottom with parchment paper for extra security.
2. Pouring Technique: Pour the batter into the center of the baking dish. Let it naturally spread out to the edges instead of spreading it with a spatula. This helps prevent deflating the batter.
Ensuring Even Distribution for Uniform Baking
To ensure your Strawberry Earthquake Cake bakes evenly:
1. Gentle Shake: Once the batter is in the baking dish, gently shake the dish back and forth on the counter. This helps settle the batter and remove any air bubbles.
2. Leveling the Surface: Use a spatula to gently level the surface of the batter if needed, but avoid pressing down too hard.
Preparing the Cream Cheese Topping
The cream cheese topping is what makes this cake truly special. Follow these steps to prepare it perfectly:
1. Room Temperature Cream Cheese: Start with 8 ounces of cream cheese at room temperature. This ensures a smooth and creamy texture.
2. Mixing for Creaminess: In a mixing bowl, beat the cream cheese with an electric mixer until it’s smooth and fluffy. Add in ½ cup of granulated sugar and 1 teaspoon of vanilla extract, continuing to mix until well combined.
3. Incorporating Eggs: Add 2 large eggs, one at a time, mixing on low speed after each addition until just combined. This prevents overmixing and keeps the mixture light.
Adding the Cream Cheese Topping
Once your cream cheese mixture is ready, it’s time to add it to the cake batter:
1. Dollop Method: Use a spoon to dollop the cream cheese mixture over the top of the cake batter. This method allows for the marbled effect without fully blending it in.
2. Creating the Marble Effect: Using a knife or skewer, gently swirl the cream cheese topping into the batter. Aim for a figure-eight motion, being careful not to overmix. You want distinct swirls of cream cheese visible.
Baking the Cake
Now that your cake is assembled, it’s time to bake:
1. Preheated Oven: Preheat your oven to 350°F (175°C) before placing the cake inside. This ensures even cooking right from the start.
2. Baking Duration: Bake the cake for 35-45 minutes. Keep an eye on it to prevent overbaking.
3. Checking for Doneness: Use a toothpick to check for doneness. Insert it into the center of the cake; if it comes out clean or with a few moist crumbs, your cake is ready. If it has wet batter on it, give it a few more minutes.
Cooling and Serving
Cooling the cake properly enhances its flavor and texture:
1. Cooling Period: Once baked, remove the cake from the oven and let it cool in the pan for about 15 minutes. Then, transfer it to a wire rack to cool completely. This prevents sogginess and preserves the cake’s integrity.
2. Serving: Cut the cake into squares and serve it at room temperature or slightly chilled. The flavors meld beautifully as it cools.
Nutritional Information
Understanding the nutritional value of your Strawberry Earthquake Cake can help you enjoy it in moderation:
– Per Serving (1 slice, based on 12 servings):
– Calories: Approximately 350
– Total Fat: 19g
– Saturated Fat: 10g
– Cholesterol: 80mg
– Sodium: 250mg
– Total Carbohydrates: 42g
– Dietary Fiber: 1g
– Sugars: 25g
– Protein: 5g
Potential Variations
If you’re looking for alternatives to fit dietary needs:
– Low-Sugar Option: Substitute regular sugar with a sugar substitute like erythritol or stevia, adjusting the quantity as needed.
– Gluten-Free Option: Use a gluten-free flour blend instead of all-purpose flour to make the cake suitable for those with gluten sensitivities.
Storage and Reheating Tips
To maintain the freshness of your cake:
1. Storage: Store any leftover cake in an airtight container at room temperature for up to 3 days or in the refrigerator for up to a week.
2. Reheating: If you want to enjoy it warm, reheat individual slices in the microwave for about 15-20 seconds, just until warmed through. This helps retain the cake’s moisture and texture.
Serving Suggestions
To elevate your Strawberry Earthquake Cake experience:
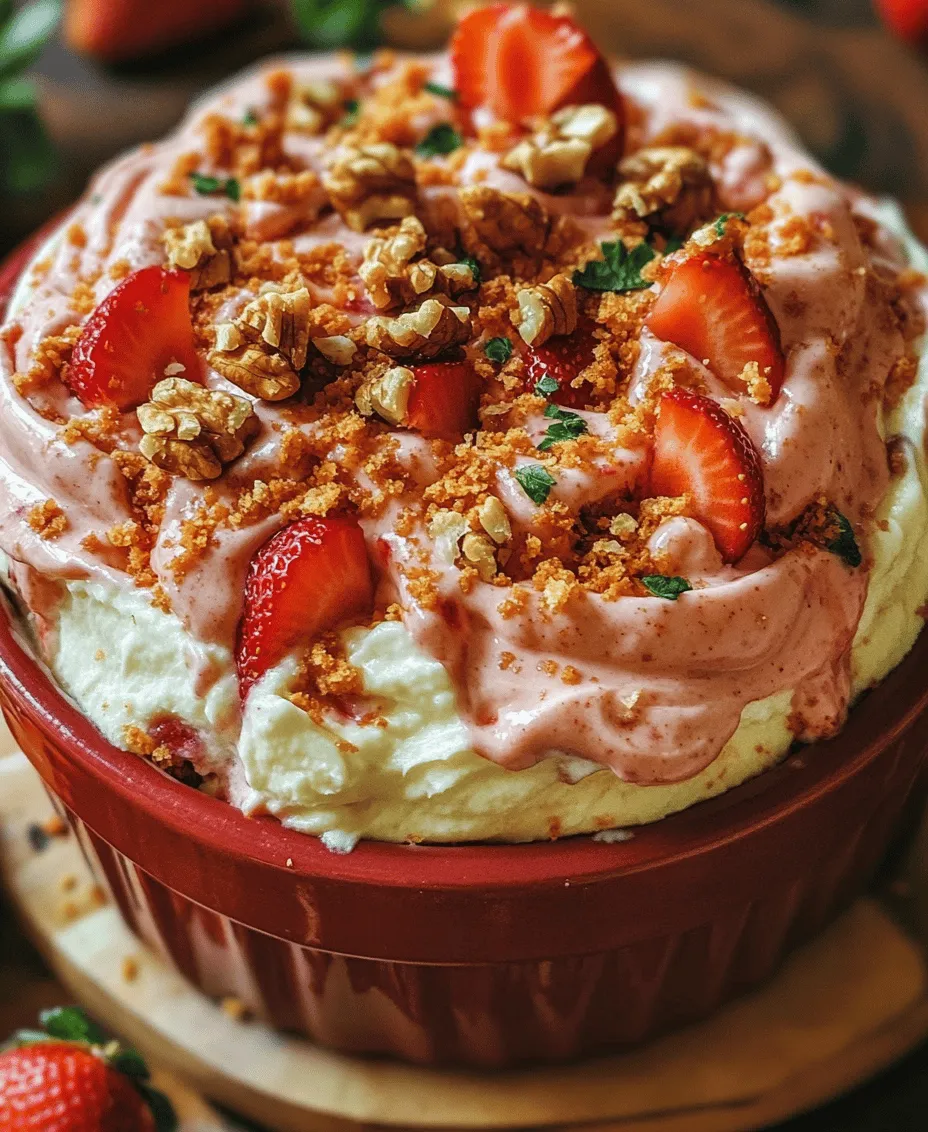
1. Garnishing Ideas: Serve with a dollop of whipped cream, a drizzle of chocolate syrup, or freshly sliced strawberries on top for added visual appeal and flavor.
2. Pairing Suggestions: This cake pairs wonderfully with a cup of coffee or a glass of milk. For dessert lovers, consider serving it alongside a scoop of vanilla ice cream for a delightful contrast.
Conclusion
The Strawberry Earthquake Cake is not just a dessert; it’s an experience in flavor and texture. With its combination of moist cake, creamy topping, and delightful strawberry flavor, it’s sure to be a hit at any gathering or as a special treat for yourself. Whether you’re celebrating a birthday, hosting a picnic, or simply indulging on a quiet evening at home, this cake promises to please.
Encourage your friends and family to join in on the fun by trying out this recipe. The next time you’re in the mood for something sweet and satisfying, whip up a Strawberry Earthquake Cake and enjoy every delicious bite!