Introduction
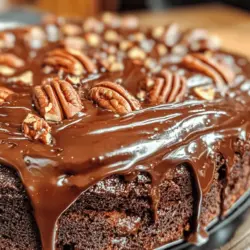
The allure of homemade desserts often lies in the rich, comforting flavors that evoke cherished memories. One such classic is Old Fashioned Fudge Icing, a recipe that brings together simple ingredients to create a luscious topping perfect for cakes and brownies. This decadent icing not only elevates the taste of your desserts but also transports you back to a time when family gatherings were marked by the sweet aroma of freshly baked goods. Whether slathered on a chocolate cake or drizzled over brownies, this fudge icing is a treat that pleases the palate and warms the heart.
In this article, we will delve into the history, technique, and variations of fudge icing, ensuring you can whip up this delectable treat with ease and confidence. From its humble beginnings to its status as a staple in dessert culture, Old Fashioned Fudge Icing has a rich heritage that connects generations of bakers. Let’s explore what makes this icing so special and how you can create your own batch at home.
Understanding the Basics of Fudge Icing
The Essence of Fudge Icing
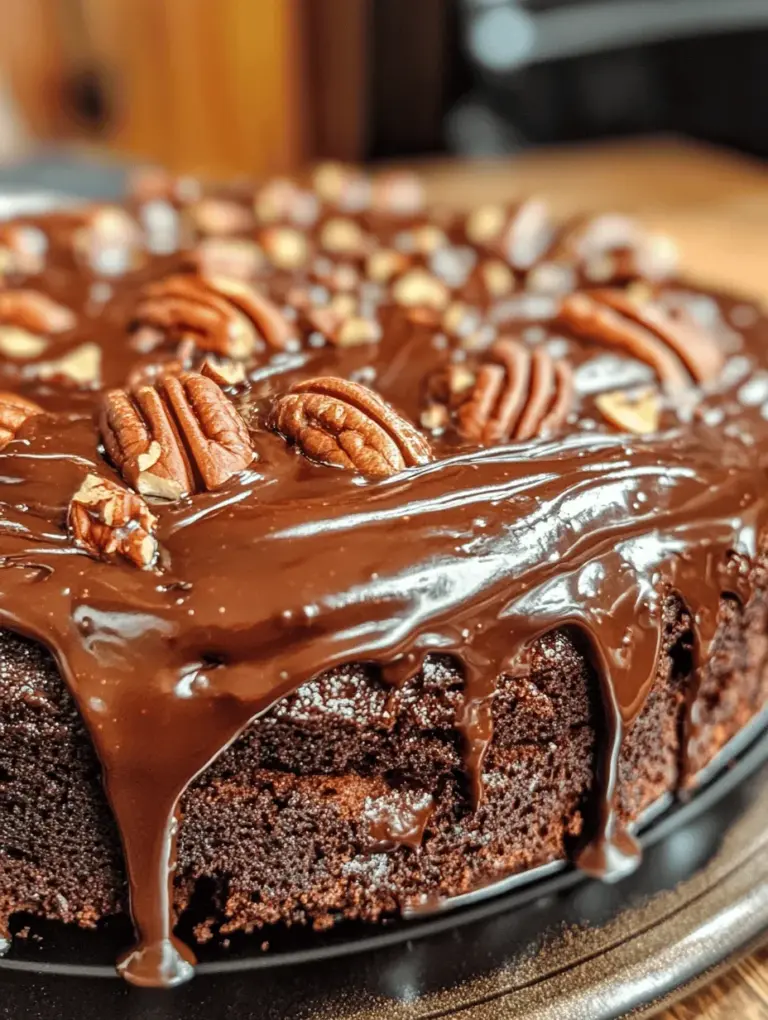
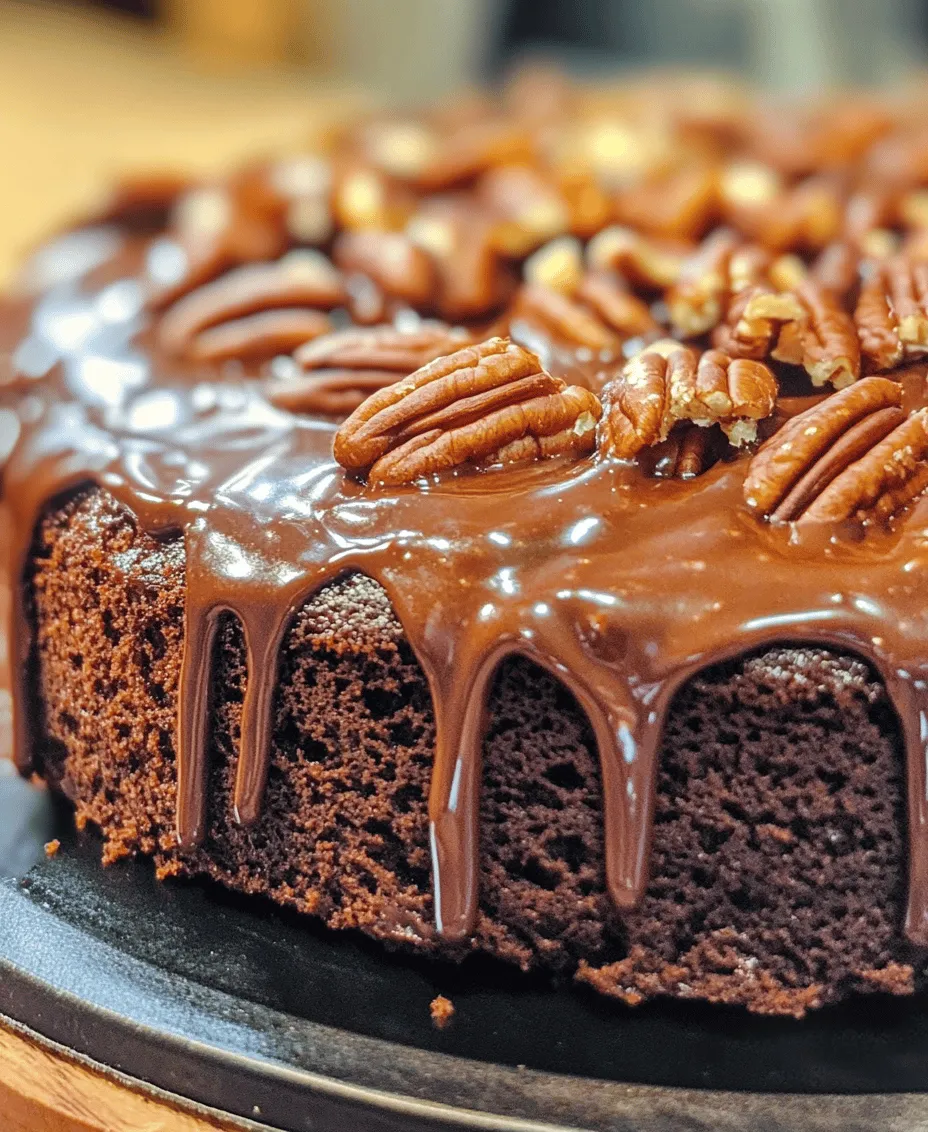
Fudge icing is a classic dessert topping characterized by its smooth, velvety texture and rich chocolate flavor. Unlike store-bought icings that often contain preservatives and artificial flavors, homemade fudge icing is made from basic pantry staples, resulting in a pure and satisfying indulgence. The icing has a glossy finish that enhances the visual appeal of any dessert, making it a favorite choice for celebratory cakes and special occasions.
Historically, fudge icing traces its roots back to the early 20th century when home bakers sought to create a simple yet luxurious topping for their cakes. During a time when families gathered around the kitchen table, sharing stories over dessert, this icing became a cherished recipe passed down through generations. Its enduring popularity speaks to its ability to bring comfort and joy, making it a timeless addition to any dessert repertoire.
Key Ingredients and Their Roles
To successfully recreate Old Fashioned Fudge Icing, it’s essential to understand the roles that each ingredient plays in achieving the perfect balance of sweetness and chocolatey richness. Here’s a breakdown of the key ingredients:
– Granulated Sugar: This is the primary sweetener in fudge icing. It not only adds sweetness but also contributes to the overall texture, helping the icing set properly.
– Unsweetened Cocoa Powder: The backbone of the icing’s chocolate flavor. Using high-quality cocoa powder will enhance the richness and depth of flavor, making your icing truly decadent.
– Whole Milk: This ingredient adds creaminess and moisture to the icing. The fat content in whole milk helps create a luscious texture that coats cakes beautifully.
– Unsalted Butter: Essential for creating a smooth and rich icing, unsalted butter provides the necessary fat that contributes to both flavor and texture. It also helps the icing set properly without becoming too stiff.
– Vanilla Extract: A critical flavor enhancer, vanilla extract adds depth to the icing, complementing the chocolate and making the overall flavor profile more complex.
– Salt: A pinch of salt is vital in balancing the sweetness of the icing. It enhances the flavors and prevents the icing from tasting overly sugary.
– Optional Nuts: For those who enjoy a bit of crunch in their desserts, adding chopped nuts such as walnuts or pecans can introduce texture and an added layer of flavor complexity.
Preparation Guide for Old Fashioned Fudge Icing
Essential Tools and Equipment
Before diving into the preparation of Old Fashioned Fudge Icing, it’s important to gather the necessary tools and equipment to ensure a smooth process. Here’s what you will need:
– Medium Saucepan and Wooden Spoon: A medium saucepan is ideal for cooking the icing mixture on the stovetop. A sturdy wooden spoon is perfect for stirring and combining the ingredients.
– Candy Thermometer: Precision is key when making fudge icing, and a candy thermometer will help you monitor the temperature accurately, ensuring you reach the right consistency.
– Spatula for Spreading: Once your icing is ready, a spatula will help you spread it evenly over your cakes or brownies.
Step-by-Step Instructions for Crafting Fudge Icing
Creating Old Fashioned Fudge Icing is a straightforward process that combines the right techniques with quality ingredients. Follow these step-by-step instructions to craft your perfect batch of fudge icing.
Combining Dry Ingredients: The Foundation of Flavor
1. Measure the Ingredients: Begin by measuring out the granulated sugar and unsweetened cocoa powder. It’s crucial to be precise with your measurements to achieve the desired consistency and flavor.
2. Mix the Dry Ingredients: In a medium saucepan, combine the granulated sugar and cocoa powder. Use a whisk to blend them together thoroughly, ensuring there are no lumps. This step allows the cocoa to distribute evenly and prevents any clumping during cooking.
Cooking the Mixture: Techniques for Achieving the Perfect Boil
3. Add Milk and Butter: Once the dry ingredients are well combined, add the whole milk and unsalted butter to the saucepan. Stir the mixture gently until the butter has melted and the ingredients are fully incorporated.
4. Heat the Mixture: Place the saucepan over medium heat and bring the mixture to a gentle boil. It’s important to stir continuously to prevent the sugar from burning at the bottom of the pan.
5. Boil for the Right Time: Allow the mixture to boil undisturbed for about 2 minutes. This boiling time helps the sugar dissolve completely and begins the process of thickening the icing.
Monitoring Temperature: Understanding the Soft Ball Stage
6. Check the Temperature: After boiling for 2 minutes, use a candy thermometer to check the temperature of the icing. You’re aiming for the “soft ball” stage, which occurs at around 234°F (112°C). If you don’t have a candy thermometer, you can test the consistency by dropping a small amount of the mixture into a bowl of cold water. If it forms a soft ball that holds its shape but flattens when removed, you’ve reached the right stage.
7. Remove from Heat: Once you’ve reached the soft ball stage, carefully remove the saucepan from the heat. It’s crucial to stop the cooking process at this stage to prevent the icing from becoming too firm.
By following these initial steps, you’ll be well on your way to creating a rich and creamy Old Fashioned Fudge Icing that can transform any dessert into a decadent delight. Stay tuned for the next part of this article, where we’ll delve into the finishing touches of this beloved recipe, including tips for achieving the perfect consistency and variations to suit your taste preferences.
Cooling and Adding Flavor: The Importance of Patience
Once you have prepared your Old Fashioned Fudge Icing, the next step is to allow it to cool properly. Cooling is a crucial phase that affects both the texture and flavor of your icing. As the fudge cools, it thickens and its flavors meld together, creating a rich, decadent taste that enhances any dessert.
Patience is key here. You may be tempted to rush this process, but allowing your icing to cool to room temperature can make a significant difference. Ideally, you should let it sit for about 30 minutes to an hour. This not only ensures that it reaches the right consistency for application but also allows the flavors to deepen, giving your fudge icing that classic, rich taste that everyone loves.
Beating for Texture: Achieving the Ideal Consistency
Once cooled, it’s time to beat your icing. This step is essential for achieving that velvety, smooth texture that makes Old Fashioned Fudge Icing so appealing. Using an electric mixer on medium speed, beat the icing for about 2 to 3 minutes. The process introduces air into the mixture, resulting in a lighter, fluffier texture that is easier to spread and gives a beautiful finish to your desserts.
Keep an eye on the consistency during this stage. You want it to be thick enough to hold its shape but still soft enough to spread easily. If your icing is too thick, you can add a teaspoon of milk or cream to loosen it slightly. Conversely, if it’s too runny, continue beating until it thickens up. Remember, the goal is to achieve that perfect, spreadable consistency that will enhance your desserts without overwhelming them.
Application: Tips for Perfect Icing on Desserts
Now that your Old Fashioned Fudge Icing is at the perfect consistency, it’s time to apply it to your desserts. Here are some tips to ensure a flawless application:
1. Choose the Right Tools: A spatula or a butter knife works well for spreading icing. For a more decorative finish, you might consider using a piping bag fitted with a plain or star tip.
2. Icing Technique: Start by dolloping a generous amount of icing in the center of your dessert. Using the spatula, gently spread the icing outward in a circular motion. If you are icing a cake, be sure to apply a crumb coat first—this thin layer of icing helps to trap any loose crumbs before applying a thicker layer.
3. Layering: If you’re working with multiple layers of cake, spread icing between each layer for a delightful surprise. This adds both flavor and moisture, enhancing the overall dessert experience.
4. Decorative Touches: For an elegant finish, you can create swirls or peaks using the spatula or piping bag. A sprinkle of cocoa powder or chocolate shavings on top can also add visual appeal.
5. Allow to Set: Once applied, let the fudge icing set for about 30 minutes before serving. This will help the icing hold its shape and make it perfect for slicing.
Flavor Variations and Customizations
While the traditional Old Fashioned Fudge Icing is delightful on its own, experimenting with flavors can take your baking to new heights. Here are some ideas to customize your icing.
Incorporating Nuts for Added Crunch
Nuts can add both texture and flavor to your fudge icing. Here’s how to integrate them effectively:
– Choosing the Right Nuts: Pecans and walnuts are excellent choices for adding crunch. Pecans offer a buttery flavor that complements the sweetness of the fudge, while walnuts provide a slightly bitter contrast that can enhance the overall taste.
– Toasting Nuts for Enhanced Flavor: Toasting your nuts before adding them to the icing is a game-changer. Simply spread the nuts on a baking sheet and toast them in a preheated oven at 350°F (175°C) for about 5-7 minutes, or until they are fragrant. Let them cool before folding them into your icing.
Experimenting with Flavors
There are endless possibilities when it comes to flavoring your Old Fashioned Fudge Icing:
– Adding Extracts: A teaspoon of almond or hazelnut extract can add a wonderful depth to your icing. These flavors pair beautifully with chocolate and create a unique taste experience.
– Infusing Spices: For a more complex flavor profile, consider adding a pinch of cinnamon or a dash of espresso powder. Cinnamon can provide warmth and spice, while espresso enhances the chocolate flavor, making it richer and more intense.
Serving Suggestions and Pairings
Old Fashioned Fudge Icing is incredibly versatile and can be paired with various desserts. Here are some delightful suggestions:
Perfect Pairings for Fudge Icing
1. Complementary Dessert Choices: This rich icing is perfect for cakes, brownies, and even cupcakes. It works beautifully on classic chocolate layer cakes, vanilla sponge cakes, or as a topping for fudgy brownies. You can also use it to elevate simple desserts like pound cake or cheesecake.
2. Beverage Pairings: The rich, chocolatey flavors of fudge icing pair wonderfully with various beverages. A hot cup of coffee or espresso brings out the chocolate’s richness, while a cup of herbal tea offers a pleasant contrast. For a more indulgent experience, consider pairing your dessert with a dessert wine or sweet port.
Creative Ways to Serve Fudge Icing
1. Layering with Other Frostings or Fillings: Don’t hesitate to get creative! Try layering your fudge icing with a light vanilla buttercream or cream cheese frosting for a delightful contrast in flavors and textures.
2. Using as a Dip for Fruits or Cookies: Fudge icing can also serve as a delightful dip for fresh fruits like strawberries or bananas. It pairs beautifully with cookies, providing an indulgent treat that’s perfect for gatherings.
Storage and Shelf Life
Proper storage of your Old Fashioned Fudge Icing ensures that it remains fresh and delicious for future use.
Proper Storage Techniques
– Refrigeration vs. Room Temperature: Fudge icing can be stored at room temperature for a short period, typically up to two days, if kept in an airtight container. However, for longer storage, it’s best to refrigerate it. When stored in the fridge, it can last for up to two weeks.
– Containers to Preserve Freshness: Use an airtight container to store your fudge icing. For added protection, consider wrapping the container in plastic wrap before sealing the lid. This helps prevent any moisture from affecting the icing’s texture.
Understanding Shelf Life
Keeping an eye on the freshness of your fudge icing is crucial. Here are some signs of spoilage to watch out for:
– Signs of Spoilage: If you notice an off smell, discoloration, or a change in texture (such as separation or excessive hardness), it’s best to discard the icing. Proper storage can help prolong its life, but always trust your senses when determining edibility.
Conclusion
Old Fashioned Fudge Icing is more than just a recipe; it’s a nostalgic journey that adds a layer of sweetness to any dessert. By mastering this classic icing, you not only enrich your baking repertoire but also create lasting memories around the table. Whether you choose to stick to the traditional recipe or explore exciting variations, this fudge icing will undoubtedly become a favorite in your dessert-making endeavors.
With its rich texture and versatile flavor, Old Fashioned Fudge Icing is the perfect companion for a variety of desserts, and its customization options allow for creativity in the kitchen. Whether you’re serving it at a family gathering, a festive celebration, or simply indulging yourself at home, this icing is sure to impress. So gather your ingredients, take your time, and enjoy the sweet journey of making this delightful icing.