Introduction
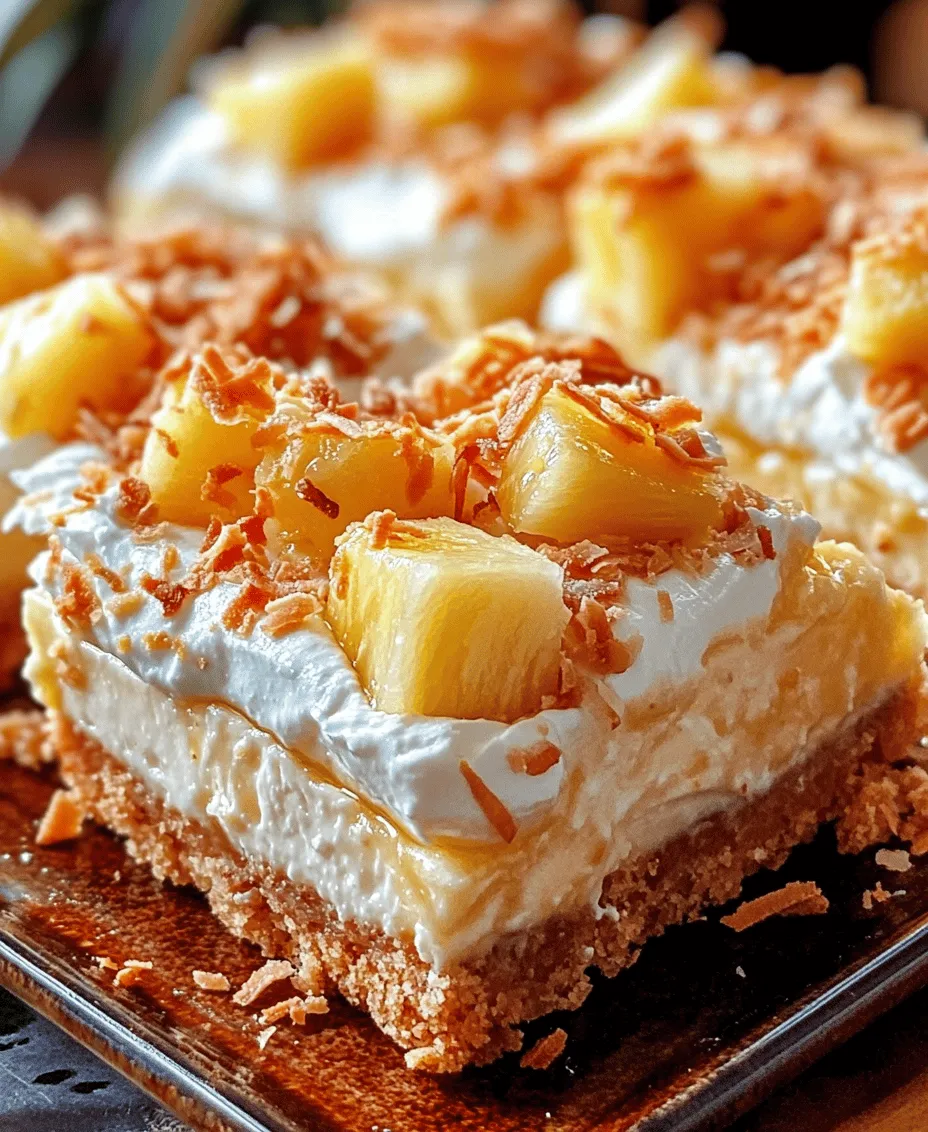
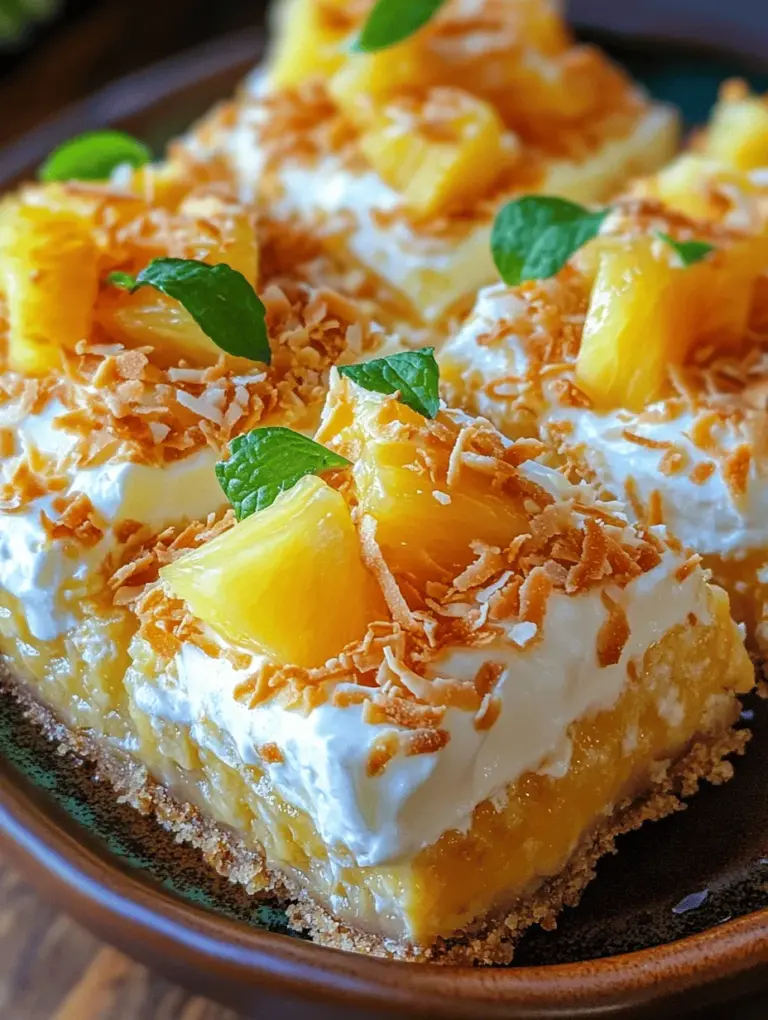
If you’re looking to bring a slice of paradise to your dessert table, Pineapple Bliss Bars are the perfect choice. This delightful tropical treat combines the refreshing flavor of pineapple with a rich, creamy filling and a crunchy, buttery crust, making it an irresistible addition to any gathering or a sweet indulgence for those warm, sunny days.
Imagine sinking your teeth into a bar that offers a perfect balance of textures: the crunch of the graham cracker crust, the luscious creaminess of the filling, and the delightful chew of toasted coconut on top. These bars not only satisfy your sweet tooth but also transport you to a beachside resort with every bite. Best of all, they are incredibly easy to prepare, allowing you to impress your friends and family without spending hours in the kitchen.
Whether you’re hosting a summer barbecue, a birthday party, or simply craving something sweet, Pineapple Bliss Bars are sure to be a hit. The vibrant flavors, appealing appearance, and refreshing taste make them a go-to dessert that everyone will love. Let’s dive into the details of this delectable recipe, starting with an understanding of its ingredients.
Understanding the Ingredients
To create the perfect Pineapple Bliss Bars, it’s essential to familiarize yourself with each component of the recipe. The key ingredients come together to create a harmonious blend of flavors and textures that elevate this dessert.
Crust
The crust is the foundation of any great dessert bar, and for Pineapple Bliss Bars, it consists primarily of graham cracker crumbs, shredded coconut, butter, brown sugar, and a hint of vanilla.
– Graham Cracker Crumbs: These provide a sweet and slightly nutty flavor, as well as a satisfying crunch. The crumbs act as the base for the bars, holding everything together and giving it a delightful texture.
– Shredded Coconut: Adding shredded coconut to the crust not only enhances the tropical vibe but also contributes to a chewy texture that contrasts beautifully with the creamy filling. It brings a natural sweetness and richness to the overall flavor profile.
– Butter: Melted butter binds the crust ingredients together, adding moisture and richness. It’s essential for achieving that golden-brown color and crispy texture.
– Brown Sugar: The addition of brown sugar introduces a hint of caramel flavor, which complements the sweetness of the coconut and balances the overall taste.
– Vanilla Extract: A splash of vanilla extract enhances the flavor of the crust, providing an aromatic quality that elevates the dessert.
Creamy Filling
The creamy filling is the star of the show, and it’s made with a combination of cream cheese, powdered sugar, crushed pineapple, and whipped cream.
– Cream Cheese: This serves as the base of the filling, offering a rich and tangy flavor that pairs perfectly with the sweetness of the pineapple. It also creates a smooth, creamy texture that melts in your mouth.
– Powdered Sugar: Using powdered sugar instead of granulated sugar ensures a silky-smooth filling, as it dissolves easily and creates a lovely sweetness without any gritty texture.
– Crushed Pineapple: The crushed pineapple adds moisture and a burst of fruity flavor, making the filling refreshing and light. It’s a key ingredient that ties the tropical theme of the dessert together.
– Whipped Cream: To lighten up the filling, whipped cream is folded in, creating an airy texture that balances the richness of the cream cheese. It adds a delightful creaminess without being overly heavy.
Topping
To finish off these blissful bars, a topping of toasted coconut flakes and fresh pineapple is added.
– Toasted Coconut Flakes: Toasting the coconut until golden enhances its flavor and adds a crunchy texture that contrasts beautifully with the creamy filling. The nutty aroma of toasted coconut fills the air, making these bars even more enticing.
– Fresh Pineapple: Chopped fresh pineapple not only adds a pop of color but also provides juicy bites that burst with flavor. It reinforces the tropical theme and makes the bars visually appealing.
Step-by-Step Preparation Guide
Now that we’ve covered the ingredients, it’s time to get into the preparation of Pineapple Bliss Bars. This step-by-step guide will walk you through the process, ensuring you achieve the best results.
Preparing the Crust
The first step in creating your Pineapple Bliss Bars is preparing the crust. This sets the stage for the layers of flavor to come.
1. Preheat the Oven: Start by preheating your oven to 350°F (175°C). Preheating is crucial, as it ensures that the crust bakes evenly and achieves that desirable golden-brown color. Skipping this step can lead to uneven baking and a less-than-perfect texture.
2. Mix the Ingredients: In a mixing bowl, combine the graham cracker crumbs, shredded coconut, melted butter, brown sugar, and vanilla extract. Use a fork or your hands to mix everything together until the crumbs are evenly coated and the mixture resembles wet sand.
3. Press into the Pan: Line a baking dish with parchment paper for easy removal, then pour the crumb mixture into the pan. Use the back of a measuring cup or your fingers to firmly press the mixture into an even layer across the bottom. Ensure that it’s compact to create a sturdy base for your bars.
4. Bake the Crust: Place the pan in the preheated oven and bake the crust for about 10-12 minutes, or until it’s lightly golden. Keep an eye on it to prevent burning, as oven temperatures can vary. The goal is to achieve a firm and crunchy texture. Once baked, remove it from the oven and let it cool slightly while you prepare the filling.
Making the Creamy Filling
Now that the crust is ready, it’s time to whip up the creamy filling that will make these bars truly irresistible.
1. Soften the Cream Cheese: Ensure your cream cheese is at room temperature before starting. This is key for achieving a smooth mixture. If it’s too cold, it will clump and create a lumpy filling. To soften the cream cheese quickly, you can microwave it in 10-second intervals until it’s soft but not melted.
2. Combine Ingredients: In a large mixing bowl, beat the softened cream cheese with an electric mixer until it’s creamy and smooth. Gradually add the powdered sugar, mixing until well combined. The mixture should be fluffy and thick.
3. Add Pineapple and Whipped Cream: Next, gently fold in the crushed pineapple, ensuring it’s well incorporated into the cream cheese mixture. Then, fold in the whipped cream carefully to maintain the airy texture. This step is important for achieving that light, luscious filling that contrasts perfectly with the crust.
With these steps completed, your Pineapple Bliss Bars are well on their way to becoming a beloved dessert that’s sure to bring smiles to everyone at your gathering. The combination of flavors and textures creates a memorable treat that embodies the essence of tropical indulgence. Stay tuned for the next part of this article, where we’ll guide you through the finishing touches and presentation of these delightful bars.

Explanation of the Folding Method
To maintain the lightness and airy texture of the filling in your Pineapple Bliss Bars, it’s essential to use the folding method when incorporating the whipped cream. This technique involves gently combining the whipped cream with other components, such as the pineapple mixture, without deflating the whipped cream.
Begin by adding a scoop of the whipped cream into the pineapple mixture. Using a spatula, gently stir and swirl the whipped cream into the mixture until it’s partially incorporated. This helps to lighten the heavier mixture, making it easier to combine. Next, continue adding more whipped cream in batches, folding rather than stirring. To fold, slide the spatula down the side of the bowl, lift the mixture from the bottom, and then turn it over onto itself. This technique introduces air into the mixture, yielding a fluffy and light filling for your bars.
Assembling the Bars
Once your filling is prepared, it’s time to assemble the Pineapple Bliss Bars. Start by ensuring your crust has cooled completely before spreading the filling on top. This step is crucial, as a warm crust can cause the filling to melt and lose its structure.
Using a spatula, gently spread the pineapple filling evenly over the cooled crust, making sure to reach the edges. It’s helpful to work in sections, starting in the center and moving outwards to avoid disturbing the crust. To ensure that the toppings adhere well, press down lightly on the filling after spreading it out. This creates a solid base for the toppings, preventing them from sliding off when served.
Chilling and Serving the Bars
Chilling the Pineapple Bliss Bars is a vital step that significantly affects the texture and flavor. By placing the assembled bars in the refrigerator, you allow the filling to set properly, resulting in a firmer texture that holds its shape when cut. This chilling process typically takes about 4 hours, but for best results, aim for an overnight chill. The longer the bars chill, the better the flavors meld, creating a delightful tropical treat.
When it comes time to serve, it’s essential to cut the bars into uniform pieces for a polished presentation. Using a sharp knife, dip the blade in warm water before making each cut; this helps to create smoother edges. Wipe the knife clean between cuts to maintain the neatness of each piece. Aim for 2-inch squares, but you can adjust the size based on your preference.
For a beautiful finishing touch, garnish each bar with fresh pineapple chunks. Not only does this add a vibrant pop of color, but it also enhances the tropical flavor profile, making each bite even more enjoyable.
Nutritional Insights
Pineapple Bliss Bars are not only a treat for the taste buds but can also offer nutritional benefits. Each bar typically provides a balance of carbohydrates, fats, and proteins. The primary ingredients, such as cream cheese and whipped cream, contribute to a creamy texture while delivering calcium and protein. Pineapple adds natural sweetness and is rich in vitamin C, manganese, and antioxidants, promoting overall health.
For those with dietary considerations, there are various alternatives you can explore to make this recipe more inclusive. For a gluten-free version, substitute the regular graham cracker crust with gluten-free graham crackers or almond flour. You can also adjust the sugar content by using natural sweeteners like honey or maple syrup, or opt for a sugar substitute that fits your dietary needs.
Pairing Suggestions
To complement the delightful flavors of Pineapple Bliss Bars, consider pairing them with refreshing beverages. Tropical smoothies made with mango, coconut milk, and banana can enhance the island experience. Alternatively, a chilled glass of iced tea, perhaps with a hint of lemon or mint, offers a refreshing balance to the sweetness of the bars.
These bars are perfect for a variety of occasions, from summer parties and potlucks to holiday gatherings. Their vibrant and tropical aesthetic makes them a standout dessert at any event, captivating both kids and adults alike. Serve them chilled on a warm day, and watch as they become a favorite treat for everyone.
Conclusion
Creating and enjoying Pineapple Bliss Bars is a delightful experience that brings a taste of the tropics to your table. With their creamy filling, crunchy base, and refreshing pineapple topping, these bars are sure to impress. The process of making them—from preparing the crust to folding in the whipped cream—allows for creativity and enjoyment in the kitchen.
We encourage you to share this recipe with friends and family, fostering a sense of community around homemade desserts. Whether you’re celebrating a special occasion or simply indulging in a sweet treat, Pineapple Bliss Bars make every moment a little brighter. Enjoy the process, savor the flavors, and most importantly, relish the joy of sharing these delicious bars with those you love.

