Introduction
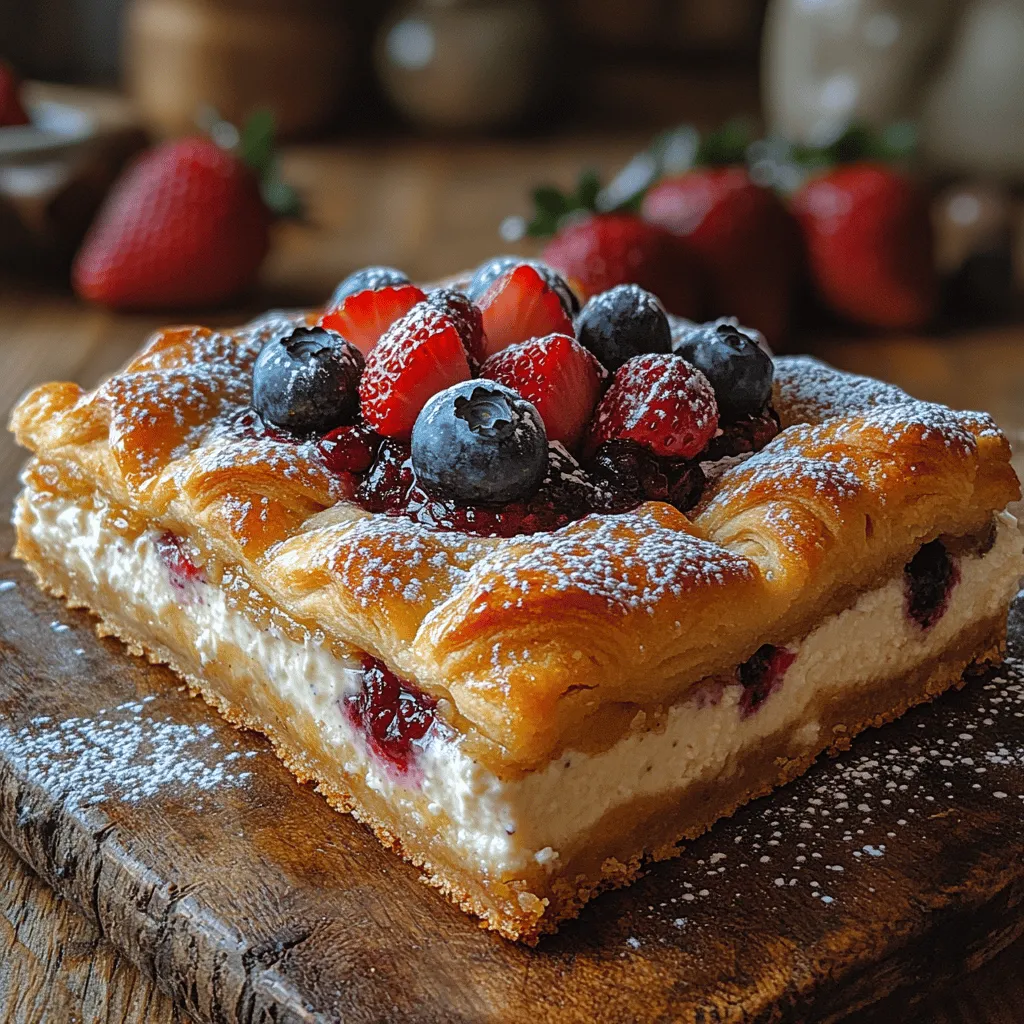
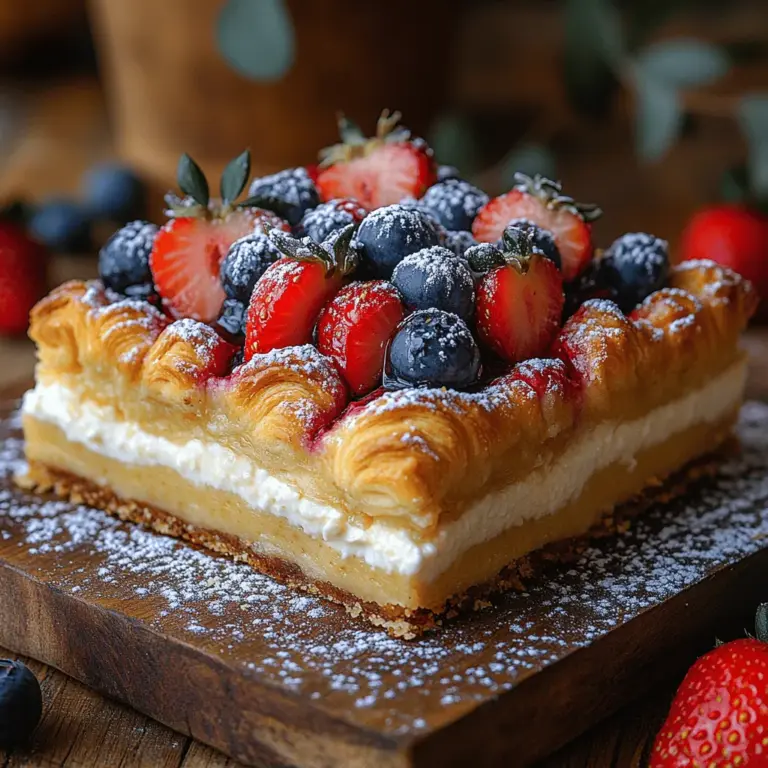
Cheesecake desserts have long held a special place in the hearts of dessert lovers, known for their creamy texture and rich flavors. From classic New York-style cheesecakes to more innovative takes, the versatility of cheesecake is truly remarkable. One delightful twist on this beloved dessert is the Creamy Crescent Cheesecake Bars. By utilizing crescent dough, this recipe offers a unique, flaky crust that perfectly complements the lush cream cheese filling, creating a delightful contrast in textures.
What sets these cheesecake bars apart is not only their taste but also their convenience. With the use of pre-made crescent dough, this recipe simplifies the traditional cheesecake-making process, making it accessible for novice bakers and busy home cooks alike. Whether you’re preparing for a family gathering, a potluck, or simply looking to satisfy your sweet tooth, these bars are sure to impress. They are easy to prepare, can be made ahead of time, and serve beautifully as a handheld dessert, making them an ideal choice for any occasion.
Understanding the Ingredients
To create the perfect Creamy Crescent Cheesecake Bars, it’s essential to understand the role of each ingredient. Here’s a closer look at the key components that contribute to this delicious dessert:
Crescent Dough
The star of this recipe is the crescent dough, which serves as the base for the cheesecake bars. This pre-made pastry has become a kitchen staple for its versatility and ease of use. The crescent dough creates a flaky and buttery crust that contrasts beautifully with the creamy cheesecake filling. When baked, it puffs up slightly, adding a lightness to the dessert while providing a satisfying crunch.
When working with crescent dough, it’s important to handle it carefully. Unrolling the dough can be a bit tricky, as it is often perforated. However, with a little patience and care, you can seal the seams to create a seamless base for your bars. This crust not only adds flavor but also helps to hold the cheesecake filling in place, ensuring that each bite is perfectly balanced.
Cream Cheese
No cheesecake would be complete without cream cheese. This rich and creamy ingredient is the foundation for the cheesecake filling, contributing to its smooth texture and tangy flavor. When selecting cream cheese for your recipe, opt for full-fat varieties, as they yield the best results in terms of taste and creaminess.
For the filling, the cream cheese should be softened to room temperature before mixing. This is crucial, as softened cream cheese combines more easily with the other ingredients, preventing lumps and ensuring a silky-smooth filling. The cream cheese provides that characteristic cheesecake flavor, making it the heart of this dessert.
Flavor Enhancers: Vanilla Extract, Lemon Juice, and Zest
To elevate the creamy filling, we incorporate a few key flavor enhancers: vanilla extract, lemon juice, and lemon zest. Vanilla extract adds warmth and depth to the cheesecake, enhancing the overall flavor profile. It also complements the sweetness of the cream cheese, creating a harmonious balance.
Lemon juice and zest introduce a bright, refreshing element to the dessert. The acidity of the lemon juice cuts through the richness of the cream cheese, preventing the dessert from feeling overly heavy. Additionally, the zest adds a lovely aroma and depth of flavor that will tantalize your taste buds. Together, these ingredients transform a basic cheesecake filling into something truly special.
Optional Ingredients: Berries and Powdered Sugar for Presentation
While the Creamy Crescent Cheesecake Bars can stand alone in their deliciousness, optional ingredients like fresh berries and powdered sugar can enhance both the visual appeal and flavor. Fresh berries, such as strawberries, blueberries, or raspberries, can be added on top of the bars for a burst of color and freshness. The natural sweetness and acidity of the fruit complement the rich cheesecake filling, creating a delightful contrast.
A dusting of powdered sugar on top of the bars before serving adds a touch of elegance and sweetness, making the dessert look as good as it tastes. These optional garnishes not only enhance the presentation but also add an extra layer of flavor that makes the bars even more enjoyable.
Step-by-Step Guide to Making Creamy Crescent Cheesecake Bars
Now that we’ve explored the ingredients, it’s time to dive into the recipe itself. Below is a detailed, step-by-step guide to making your own Creamy Crescent Cheesecake Bars.
Step 1: Preheat the Oven and Prepare the Baking Dish
To kick off the baking process, preheat your oven to 350°F (175°C). This ensures that the bars will bake evenly and achieve the desired texture. While the oven is heating, prepare a baking dish—typically a 9×13 inch pan works perfectly for this recipe. Grease the dish lightly with cooking spray or line it with parchment paper for easy removal once the bars are baked.
Step 2: Unroll and Seal the Crescent Dough
Once your baking dish is ready, open the tube of crescent dough and carefully unroll it. Take a moment to observe the perforations in the dough. Instead of separating the dough into individual triangles, you will want to press the seams together to create a solid sheet. This will form the base of your cheesecake bars.
Using your fingers, gently pinch the seams to seal them, ensuring there are no gaps. If you find that the dough is difficult to seal, you can use a rolling pin to gently roll over the dough, smoothing it out and helping the seams to adhere. Once sealed, lay the crescent dough evenly across the bottom of the prepared baking dish, pressing it into the corners.
Step 3: Prepare the Cheesecake Filling
With the crust in place, it’s time to prepare the cheesecake filling. In a large mixing bowl, add the softened cream cheese. Using a hand mixer or stand mixer, beat the cream cheese on low speed until it is creamy and smooth. This step is crucial, as starting on low speed prevents the cream cheese from splattering and ensures an even mixture.
Once the cream cheese is smooth, add in the granulated sugar and continue mixing until well combined. Next, incorporate the vanilla extract, lemon juice, and lemon zest. These flavor enhancers will take your filling from good to great, so don’t skip this step!
Step 4: Incorporate the Eggs
Now it’s time to add the eggs to the mixture. Crack two large eggs into a separate bowl to check for any shell fragments before adding them to the cheesecake mixture. This step helps to ensure a smooth filling. Add the eggs to the cream cheese mixture one at a time, mixing on low speed after each addition until just combined.
It’s important not to overmix the filling once the eggs are added, as overmixing can incorporate too much air, leading to cracks in your cheesecake bars during baking. Mix just until you can no longer see any streaks of egg, and the mixture is smooth and creamy.
Step 5: Pour the Filling Over the Crust
With your cheesecake filling ready, pour it over the prepared crescent dough crust. Use a spatula to spread the filling evenly across the surface, making sure to reach the edges. This will help ensure that every bite of your cheesecake bars is filled with that delicious creamy goodness.
Step 6: Bake the Bars
Carefully place the baking dish in the preheated oven. Bake for approximately 25-30 minutes, or until the filling is set and the edges are lightly golden. The center may have a slight jiggle, which is perfectly fine, as it will firm up as it cools.
Step 7: Cool and Refrigerate
Once baked, remove the cheesecake bars from the oven and allow them to cool in the pan for about 10-15 minutes. Afterward, transfer the baking dish to the refrigerator to chill for at least two hours. Chilling is essential, as it allows the filling to set properly, making it easier to cut the bars into neat squares.
This step not only helps with the texture but also enhances the flavors, allowing them to meld together beautifully.
As you can see, making Creamy Crescent Cheesecake Bars is a straightforward process that elevates a classic dessert into something unique and delightful. With just a few simple steps and ingredients, you can create a treat that is sure to please a crowd.
In the next part of this article, we will explore tips for achieving the best results, as well as answer some common questions related to this delicious dessert. Stay tuned for more insights to make your baking experience even more enjoyable!