Introduction
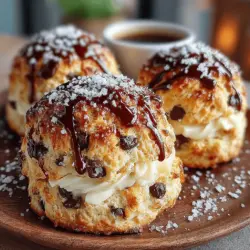
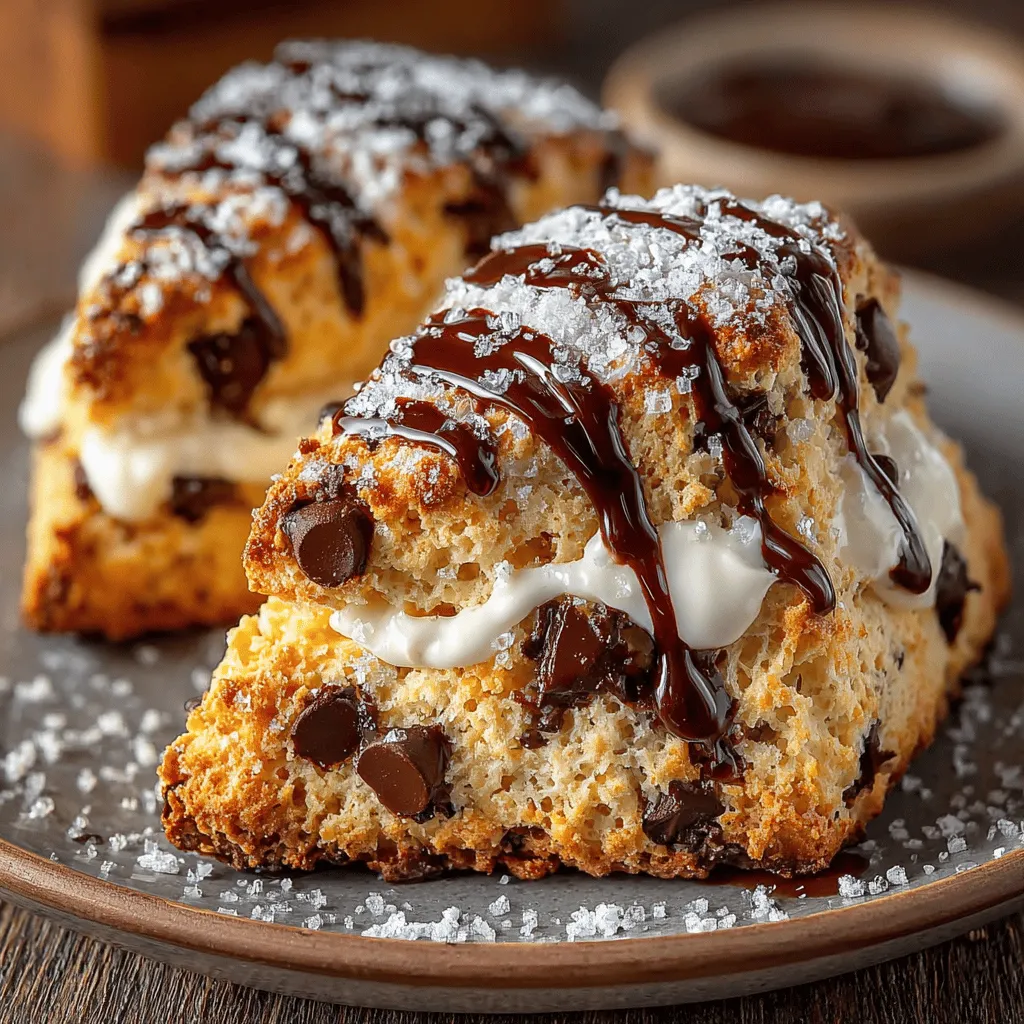
Indulging in a warm, freshly baked scone is one of life’s simple pleasures, especially when it’s studded with rich semi-sweet chocolate chips. The Velvety Chocolate Chip Delight Scones recipe not only brings together the comforting flavors of chocolate and cream but also offers a delightful texture that is soft on the inside and slightly crisp on the outside. Whether you’re hosting a brunch, enjoying a quiet afternoon tea, or simply treating yourself, these scones are sure to impress. In this article, we’ll explore the intricacies of crafting the perfect scone, delve into the essential ingredients, and understand the baking techniques that will elevate your baking game.
Understanding the Basics of Scone-Making
The History of Scones
Scones trace their origins back to the British Isles, with roots in the early 16th century. They were originally made with oats and baked on a griddle, evolving over time to include wheat flour, which is more common in today’s recipes. The traditional scone, often served with clotted cream and jam, has become a staple in afternoon tea settings. Over the years, scones have undergone various transformations, incorporating different flavors, fillings, and toppings, leading to a plethora of modern variations. This evolution reflects the adaptability of the scone, allowing bakers to experiment with ingredients and create delightful new treats, like the Velvety Chocolate Chip Delight Scones.
Key Characteristics of a Perfect Scone
When it comes to scone-making, certain characteristics define what makes a scone truly exceptional.
Texture: One of the hallmarks of a perfect scone is its texture. Ideally, a scone should be light and flaky, with a tender crumb that melts in your mouth. Achieving this texture involves a delicate balance of ingredients and precise baking techniques. On the other hand, some variations may lean towards a denser and heartier scone, which can also be enjoyable but focuses on a different kind of satisfaction.
Flavor: The flavor profile of a scone should strike a balance between sweetness and richness. While traditional scones are often lightly sweetened, the addition of chocolate chips in the Velvety Chocolate Chip Delight Scones provides an extra layer of indulgence. The richness of the chocolate complements the buttery flavor of the scone, making each bite a delightful experience.
Essential Ingredients for Velvety Chocolate Chip Delight Scones
To create the perfect Velvety Chocolate Chip Delight Scones, understanding the role of each ingredient is crucial. Let’s break down the essential components that contribute to the success of this recipe.
All-Purpose Flour
All-purpose flour is the foundation of any scone recipe, playing a vital role in determining the final texture. The protein content in all-purpose flour strikes a good balance between tenderness and structure, ensuring that the scones rise beautifully while maintaining a light, flaky interior. For those looking to experiment, alternatives such as whole wheat flour or gluten-free flour blends can be used, but they may alter the texture and flavor profile of the scones.
Granulated Sugar
Granulated sugar serves multiple purposes in scone-making. Primarily, it contributes to the sweetness of the scones and helps to create a golden-brown crust during baking. Additionally, sugar aids in the overall structure of the scone, providing stability and moisture retention. If you prefer a less sweet scone, consider adjusting the sugar levels to your taste, or try using alternatives like honey or maple syrup, keeping in mind that liquid sweeteners may require adjustments in the dry ingredients.
Baking Powder and Salt
Baking powder is the primary leavening agent in scones, responsible for creating the light and airy texture that we all love. It’s essential to measure baking powder accurately, as too much can lead to an overly risen scone that collapses, while too little can result in a dense final product. Salt, on the other hand, enhances flavor and balances the sweetness of the sugar, making it an indispensable ingredient in the baking process.
Cold Unsalted Butter
The temperature of the butter plays a crucial role in the texture of scones. Using cold unsalted butter ensures that it remains solid when mixed into the dry ingredients, creating small pockets of fat that contribute to the flaky texture. To incorporate the butter, you can use a pastry cutter or your fingertips to work it into the flour until the mixture resembles coarse crumbs. This technique is key to achieving that coveted scone texture.
Heavy Cream, Eggs, and Vanilla Extract
Heavy cream adds richness and moisture to the dough, while eggs provide structure and stability. The combination of these ingredients helps to bind the scone together, resulting in a tender crumb. Vanilla extract not only enhances the overall flavor but also complements the chocolate chips beautifully. When mixing these wet ingredients, be careful not to overwork the dough, as this can lead to tough scones.
Semi-Sweet Chocolate Chips
The star ingredient of this recipe is, of course, the semi-sweet chocolate chips. Choosing high-quality chocolate is essential, as it significantly impacts the flavor of the finished scones. Semi-sweet chips provide the perfect balance of sweetness and richness, but feel free to experiment with other types of chocolate, such as dark or milk chocolate, depending on your preference. Additionally, consider incorporating other mix-ins like nuts or dried fruits for extra flavor and texture.
Step-by-Step Guide to Making Velvety Chocolate Chip Delight Scones
Now that you’re familiar with the essential ingredients and their roles, it’s time to dive into the step-by-step process of making these delectable scones. Before you start, it’s important to prep your kitchen to ensure a smooth baking experience.
Prepping Your Kitchen
Before you begin, gather all the essential tools and equipment needed for making scones. Here’s a quick checklist to help you get started:
1. Mixing Bowls: You’ll need at least two mixing bowls—one for the dry ingredients and another for the wet ingredients.
2. Pastry Cutter or Fork: This will help you incorporate the cold butter into the flour mixture effectively.
3. Measuring Cups and Spoons: Accurate measurements are crucial for baking success.
4. Baking Sheet: Line it with parchment paper or a silicone baking mat for easy cleanup.
5. Rolling Pin (optional): If you prefer a more uniform scone shape, a rolling pin can be helpful, although many bakers choose to pat the dough into shape by hand.
6. Sharp Knife or Dough Cutter: For cutting the scones into wedges or rounds.
With your kitchen set up and your ingredients ready, you’re on your way to creating Velvety Chocolate Chip Delight Scones that will elevate any occasion. In the next part of this article, we will walk through the detailed steps of mixing, shaping, and baking these delicious treats, ensuring that each bite is as delightful as the last. Stay tuned as we continue our journey into the world of scone-making!
Setting Up Your Workspace for Efficiency
Before diving into the delightful task of making Velvety Chocolate Chip Delight Scones, a well-organized workspace can make all the difference. Start by clearing your countertop and gathering all the necessary ingredients and tools. You will need:
– Mixing bowls
– Measuring cups and spoons
– A pastry cutter or two forks
– A baking sheet lined with parchment paper
– A whisk or a fork for mixing
Having everything within reach not only streamlines the process but also minimizes the chances of overlooking any ingredients. Ensure that your oven is ready to go, as preheating it to the correct temperature is essential for baking success.
Mixing Dry Ingredients
The foundation of any good scone begins with the dry ingredients. In a large mixing bowl, combine all-purpose flour, baking powder, sugar, and a pinch of salt. Whisk these dry ingredients together until they are fully incorporated. This step is crucial as it ensures that the baking powder and salt are evenly distributed, which helps the scones rise uniformly during baking.
Techniques for Combining Ingredients Evenly
When mixing dry ingredients, it is important to use a gentle hand. Avoid vigorous stirring which can lead to clumping. Instead, whisking in a circular motion will help break up any lumps and promote an even mixture. Incorporating air into the flour mixture is beneficial, as it lightens the scone texture.
The Science Behind Dry and Wet Ingredient Separation
Understanding the separation of dry and wet ingredients is key to achieving the perfect scone. Dry ingredients absorb moisture and expand when wet ingredients are added. If you were to mix everything together too early, the flour would not have the chance to aerate, resulting in dense scones. Therefore, keeping them separate until it’s time to combine is essential for optimal texture.
Cutting in the Butter
Now, it’s time to add butter to your dry mixture. Cold, unsalted butter is the best choice for scones as it helps create a flaky texture. Cut the butter into small cubes and add them to the dry ingredients.
Methods for Achieving the Desired Crumb Texture
Using a pastry cutter, fork, or even your fingertips, begin cutting the butter into the flour mixture. The goal is to achieve a crumbly texture where the butter is evenly distributed but not completely melted. The mixture should resemble coarse crumbs or small peas. This technique is crucial because the small pieces of butter create pockets of steam while baking, which contributes to the scone’s flakiness.
Tips for Recognizing When the Mixture is Ready
To know when the butter is properly incorporated, the resulting mixture should have a sandy texture, and you should no longer see large chunks of butter. It’s vital not to overwork the mixture; otherwise, the scones may become tough instead of tender.
Combining Wet Ingredients
Next, you’ll prepare the wet ingredients. In a separate bowl, combine heavy cream, an egg, and vanilla extract. Whisk these together until they are fully blended.
Importance of Mixing Techniques
When mixing wet ingredients, it is important to incorporate air, which helps with leavening. A simple whisk is perfect for this task, and make sure to beat the mixture until it is just combined.
Avoiding Overmixing: Key to Light Scones
Once you combine the wet and dry ingredients, do so gently. Overmixing at this stage can lead to dense scones. Use a rubber spatula or wooden spoon to fold the wet ingredients into the dry ingredients until just combined. The dough should be slightly sticky but manageable.
Forming and Shaping the Dough
Now that your dough is ready, it’s time to shape it into scones. Turn the dough out onto a lightly floured surface.
Proper Technique for Patting and Cutting Scones
Gently pat the dough into a rectangle or circle about 1 inch thick. Using a sharp knife or a pizza cutter, cut the dough into triangles or rounds, depending on your preference. Be sure to cut straight down without twisting to ensure even edges.
Discussing Thickness and Size Variations
The thickness of your scones will affect their baking time; thicker scones will require a few extra minutes in the oven. A standard size is about 2-3 inches wide and 1 inch thick, but feel free to adjust based on your desired serving size.
Final Touches: Brushing and Sprinkling
Before baking, it’s time for the final touches that enhance both appearance and flavor. Place the cut scones on your prepared baking sheet, leaving space between each one.
Enhancing Appearance and Texture with Cream and Sugar
Brush the tops of each scone with a bit of heavy cream, which not only helps them achieve a golden color but also adds richness. For an extra touch of sweetness, sprinkle a little coarse sugar on top. This will create a delightful crunch once baked.
Optional Toppings for Added Flair
To elevate your scones further, consider adding toppings such as chocolate chips or a sprinkle of cinnamon before baking. These little additions can create a beautiful contrast and enhance the flavor profile of your scones.
Baking Your Scones to Perfection
With your scones prepared, it’s time to bake them.
Preheating Your Oven
Ensure your oven is preheated to 400°F (200°C) before placing the scones inside. Proper temperature control is vital as it helps the scones rise properly and develop a beautiful golden crust.
Tips for Ensuring an Even Bake
Place the baking sheet in the middle of the oven to ensure even heat distribution. If your oven has hot spots, consider rotating the baking sheet halfway through the baking time.
Baking Time and Techniques
Recommended baking time for your scones ranges from 15 to 20 minutes. Keep an eye on them as the baking approaches the 15-minute mark.
Signs of Doneness
Scones are done when they are golden brown on top and a toothpick inserted into the center comes out clean. If your scones are browning too quickly, you can cover them loosely with aluminum foil to prevent burning.
Troubleshooting Common Baking Issues
If your scones are not rising as expected, it may be due to expired baking powder. Always check the freshness of your leavening agents before starting. Additionally, ensure your ingredients were measured accurately for the best results.
Cooling and Serving Suggestions
Once your scones are out of the oven, allow them to cool slightly.
Cooling Process
Cooling your scones on a wire rack is essential for maintaining their texture. This allows air to circulate around them, preventing them from becoming soggy.
Best Practices for Serving
Serve your scones warm, as this enhances their rich flavor and soft texture. They can be enjoyed on their own or paired with various accompaniments.
Pairing Ideas
Traditional accompaniments for scones include clotted cream and fresh butter, which add a luxurious touch. For a burst of flavor, consider serving them with jams, honey, or fruit preserves. Flavored spreads such as lemon curd or chocolate hazelnut spread can also complement the rich chocolate flavor of the scones.
Conclusion
The Velvety Chocolate Chip Delight Scones are not just another baked treat; they embody the joy of baking and the satisfaction of enjoying something homemade. With their rich chocolate flavor and tender texture, these scones are perfect for any occasion. By understanding the ingredients and following the careful steps outlined above, you can master this delightful recipe and share the experience with friends and family. Enjoy the process of baking, and savor every bite of your delicious creations.