Introduction
Focaccia, an Italian bread staple, has won the hearts and palates of food lovers around the world. This flatbread, with its crisp crust and soft interior, is not just a side dish; it’s a culinary canvas that enhances meals and elevates gatherings. Whether served alongside a bowl of hearty soup, used as a base for sandwiches, or simply enjoyed on its own, focaccia brings warmth and comfort to the table.
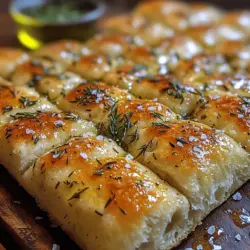
Among the many variations of focaccia, the rustic roasted garlic and herb version stands out for its robust flavor and alluring aroma. Roasting garlic transforms its sharpness into a sweet, mellow richness that permeates the bread, while the fresh herbs infuse it with a vibrant essence. This recipe combines these elements to create a focaccia that is not only delicious but also inviting, making it a perfect addition to any meal or occasion.
Understanding Focaccia
Focaccia has deep roots in Italian culture, dating back to ancient times. Its name is derived from the Latin word “focacia,” which means “hearth.” Traditionally baked on the hearth of a wood-fired oven, focaccia was a staple for Roman soldiers and early Italians. Over the centuries, it has evolved into countless regional variations, each showcasing local ingredients and flavors.
Different regions in Italy have their own takes on focaccia. For example, Liguria is famous for its “focaccia di Recco,” a thin, cheese-filled focaccia, while in Apulia, you’ll find a thicker version resembling pizza. Beyond Italy, focaccia has inspired bakers around the world, leading to creative adaptations that reflect local tastes. This versatility is one of the reasons focaccia is so beloved; it can be sweet or savory, topped with an array of ingredients from olives to seasonal vegetables.
In addition to its delightful taste and texture, focaccia is celebrated for its ease of preparation. With just a few basic ingredients, anyone can create this homemade bread, making it an accessible option for both novice and experienced bakers. The rustic roasted garlic and herb focaccia, in particular, embodies the spirit of simplicity while delivering complex flavors that are sure to impress.
Ingredients Breakdown
To make a truly exceptional rustic roasted garlic and herb focaccia, it’s essential to understand the role of each ingredient in the recipe. Here’s a detailed breakdown of what you’ll need:
– All-Purpose Flour: This flour is the backbone of your focaccia. Its moderate protein content provides the right balance of structure and tenderness, allowing the bread to rise beautifully while retaining a soft, chewy texture. Opt for high-quality flour for the best results.
– Sea Salt: Beyond just flavor, salt is a crucial ingredient in bread-making. It strengthens the gluten network, improves dough structure, and enhances the overall taste of the focaccia. Using sea salt adds a hint of natural minerals that can elevate the flavor profile.
– Sugar: A small amount of sugar plays a pivotal role in yeast activation. It acts as food for the yeast, helping it to ferment and produce carbon dioxide, which causes the dough to rise. Additionally, sugar contributes a slight sweetness that balances the savory elements of the focaccia.
– Active Dry Yeast: This ingredient is responsible for leavening the bread. Yeast ferments the sugars in the dough, producing carbon dioxide and alcohol, which give focaccia its airy structure. Ensuring your yeast is fresh is key to achieving that perfect rise.
– Warm Water: The temperature of the water you use is important for yeast activation. Ideally, it should be warm (around 110°F or 43°C) to encourage the yeast to wake up and start working. Water too hot can kill the yeast, while water too cool will slow down the activation process.
– Extra-Virgin Olive Oil: This ingredient not only adds a rich flavor to the focaccia but also contributes to its texture. Olive oil helps keep the bread moist and tender, and brushing it on top before baking creates a beautifully golden crust.
– Roasted Garlic: Roasting garlic sweetens it, transforming its pungent bite into a mellow, savory flavor that complements the bread perfectly. It adds depth and richness, making this focaccia truly special.
– Fresh Herbs (Rosemary and Thyme): These aromatic herbs bring freshness and complexity to the focaccia. Rosemary is known for its earthy, pine-like flavor, while thyme adds a subtle floral note. Together, they create a harmonious blend that elevates the bread.
– Flaky Sea Salt: Sprinkling flaky sea salt on top of the focaccia before baking provides a delightful crunch and bursts of flavor in each bite. It’s a finishing touch that enhances both the taste and aesthetic appeal of the bread.
Preparing the Roasted Garlic
Roasting garlic is a simple yet transformative process that enhances its flavor profile. Here’s a step-by-step guide to preparing roasted garlic for your focaccia:
1. Select the Right Garlic: Choose firm, unblemished bulbs of garlic. Look for garlic that feels heavy for its size, with tight, dry skins. Fresh garlic will yield the best flavor.
2. Preheat the Oven: Begin by preheating your oven to 400°F (200°C). A hot oven is essential for caramelizing the garlic and developing its sweetness.
3. Prepare the Garlic Bulbs: Take a whole bulb of garlic and slice off the top (about 1/4 inch) to expose the individual cloves. This will help the garlic roast evenly and become tender.
4. Drizzle with Olive Oil: Place the garlic bulb on a piece of aluminum foil. Drizzle a tablespoon of extra-virgin olive oil over the exposed cloves, ensuring they are well-coated.
5. Wrap and Roast: Wrap the garlic bulb tightly in the foil, creating a sealed pouch. This will trap steam and help the garlic roast evenly. Place the wrapped garlic in the preheated oven and roast for about 30-35 minutes, or until the cloves are golden brown and soft.
6. Cool and Store: Once roasted, remove the garlic from the oven and let it cool slightly. Once cool enough to handle, squeeze the cloves out of their skins into a bowl. You can use the roasted garlic immediately in your focaccia or store it for later use. To store, place the roasted garlic in an airtight container and cover it with olive oil. It can be kept in the refrigerator for up to two weeks.
Roasting garlic not only enhances its flavor but also fills your kitchen with an irresistible aroma that will have everyone eagerly anticipating the focaccia.
Activating the Yeast
Activating the yeast is a crucial step in making focaccia, as it ensures your bread rises and develops a light, airy texture. Here’s what you need to know about the yeast activation process:
1. Warm Water: Begin by measuring out the warm water (about 110°F or 43°C) in a small bowl. If you don’t have a thermometer, a good rule of thumb is to ensure the water feels warm to the touch but not hot.
2. Add the Sugar: Stir in the sugar until it is dissolved. This step is important, as the sugar will feed the yeast and facilitate the activation process.
3. Sprinkle the Yeast: Gently sprinkle the active dry yeast over the surface of the warm water. Allow it to sit undisturbed for about 5-10 minutes. During this time, you should see the yeast begin to froth and bubble, indicating that it is alive and active.
4. Common Pitfalls: Be cautious of a few common mistakes. Ensure the water is not too hot, as it can kill the yeast. Conversely, if the water is too cool, the yeast may not activate properly. If you don’t see any bubbles after 10 minutes, it’s best to start over with fresh yeast.
5. Ready to Use: Once activated, you can proceed to mix the yeast mixture into your flour and other ingredients. This bubbly yeast mixture will create the rise needed for your focaccia.
Understanding yeast activation is vital for successful bread-making. With the right approach, you can achieve a beautifully risen focaccia that is light and airy.
Mixing and Kneading the Dough
Once your yeast is activated and your ingredients are gathered, it’s time to mix and knead the dough for your rustic roasted garlic and herb focaccia. This step is where the magic begins, transforming simple ingredients into a cohesive dough that will rise and develop flavor.
1. Mixing the Ingredients: In a large mixing bowl, combine the all-purpose flour and sea salt, ensuring the salt is evenly distributed throughout the flour. Make a well in the center of the flour mixture and pour in the activated yeast mixture, along with the warm water. Then, add in the olive oil and the roasted garlic.
2. Stirring the Dough: Using a wooden spoon or your hands, begin to mix the ingredients together. The goal is to incorporate the flour into the wet ingredients until a shaggy dough forms. Don’t worry about achieving a perfectly smooth dough at this stage; it will come together during kneading.
3. Kneading the Dough: Transfer the shaggy dough onto a lightly floured surface. Begin kneading by folding the dough over itself and pushing it down with the heel of your hand. Rotate the dough a quarter turn and repeat this process. Knead for about 8-10 minutes, or until the dough becomes smooth and elastic.
4. Checking for Readiness: To test if the dough is ready, perform the “windowpane test.” Take a small piece of dough and stretch it gently between your fingers. If it stretches thin enough to become translucent without tearing, it’s well-kneaded and ready to rise.
5. First Rise: Form the kneaded dough into a ball and place it in a lightly oiled bowl, turning it to coat the surface with oil. Cover the bowl with a clean kitchen towel or plastic wrap and let it rise in a warm, draft-free area for about 1-2 hours, or until it has doubled in size.
Throughout this process, the dough will develop gluten, which is essential for structure and texture. Kneading not only helps create a strong dough but also encourages the flavors to meld together, setting the stage for a delicious focaccia.
Next Steps
Now that we’ve set the foundation for our rustic roasted garlic and herb focaccia, the next part of our journey will involve shaping, second rising, and baking the dough to perfection. Stay tuned for the following steps that will guide you through achieving that golden brown crust and soft, flavorful interior.
Detailed Instructions on Mixing the Dough
To create the perfect rustic roasted garlic and herb focaccia, the mixing of the dough is a crucial step that sets the foundation for your bread. Begin by measuring out your flour accurately; using a kitchen scale can help achieve precise amounts. In a large mixing bowl, combine the flour, salt, and any dried herbs you wish to incorporate, such as oregano or thyme. The herbs not only add flavor but also contribute to the rustic appeal of your focaccia.
Next, create a well in the center of the dry ingredients. Pour in your warm water, ensuring that it is not too hot, as excessive heat can kill the yeast. Stir the mixture with a wooden spoon or your hands until the flour is incorporated and a shaggy dough forms. This initial mixing is about combining the ingredients rather than fully developing the dough’s structure.
Importance of Kneading for Gluten Development
Kneading is a vital process that develops gluten, giving your focaccia the desired chewy texture. Once your dough has come together, transfer it onto a lightly floured surface. Knead the dough by pushing it away from you with the heel of your hand, then folding it over itself and repeating the process. Aim for about 8 to 10 minutes of kneading until the dough is smooth and elastic.
Alternatively, if you have a stand mixer, use the dough hook attachment to knead the dough on low speed for about 5 to 7 minutes. This method frees up your hands and can produce a consistent texture with less effort. Regardless of the method, ensure that the dough passes the “windowpane test”—stretch a small piece of dough; if it forms a thin membrane without tearing, you have developed sufficient gluten.
The Rising Process
After kneading, the dough needs to rise to develop flavor and texture. The first rise, also known as bulk fermentation, typically lasts about 1 to 2 hours. During this time, the yeast ferments the sugars in the dough, producing carbon dioxide that causes the dough to expand. Cover the bowl with a damp cloth or plastic wrap to retain moisture and warmth, creating an ideal environment for fermentation.
The science behind this process is fascinating; as the yeast consumes sugar, it produces gases that create air pockets within the dough, contributing to its lightness. Look for the dough to double in size as an indicator that it has risen sufficiently.
The second rise, or proofing, occurs after shaping the dough. This step usually takes about 30 minutes to 1 hour. A warm, draft-free area, such as an oven turned off with the light on, can provide the perfect rising conditions.
Preparing the Baking Pan
While the dough is rising, prepare your baking sheet. Choose a rimmed baking sheet or a shallow pan, ideally measuring around 13×18 inches. This size allows the focaccia to achieve the ideal thickness—about 1 inch. Grease the baking sheet generously with olive oil, ensuring that the entire surface is covered to prevent sticking and enhance flavor. A well-greased pan also contributes to the crust’s crispness.
Creating Texture: Dimpling and Seasoning
Once the dough has completed its second rise, it’s time to shape and add texture. Gently transfer the dough onto the prepared baking pan, taking care not to deflate it too much. Using your fingers, press into the dough to create deep dimples—this step is essential as it not only creates a beautiful texture but also helps trap the olive oil and seasoning you will add next.
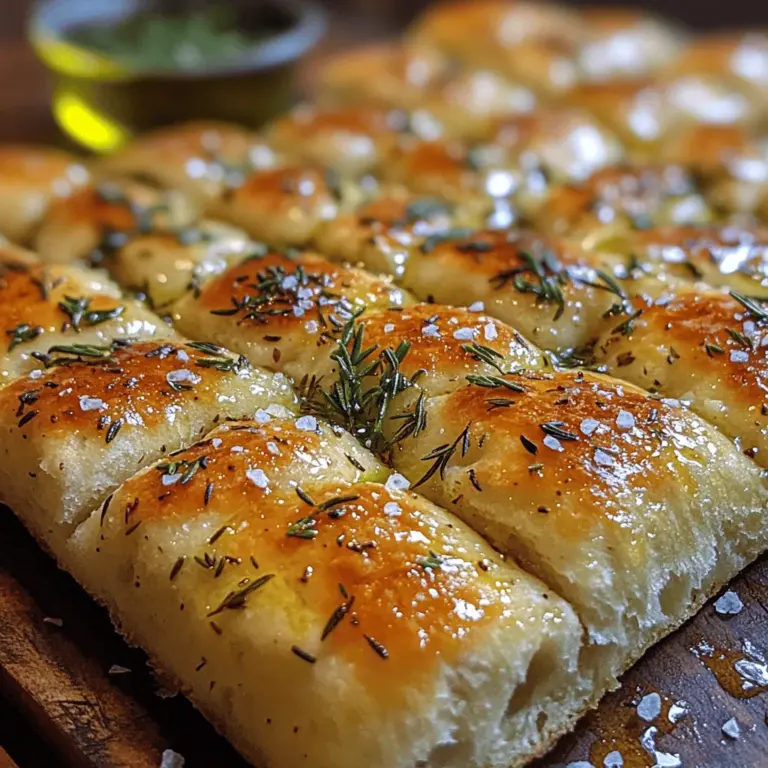
For seasoning, generously drizzle olive oil over the dimples, allowing it to pool slightly. This not only enhances flavor but also creates a delightful crust when baked. You can sprinkle coarse sea salt, fresh herbs, or even grated cheese such as Parmesan or mozzarella over the top before baking. These toppings will add depth and character to your focaccia, making it even more irresistible.
Baking the Focaccia
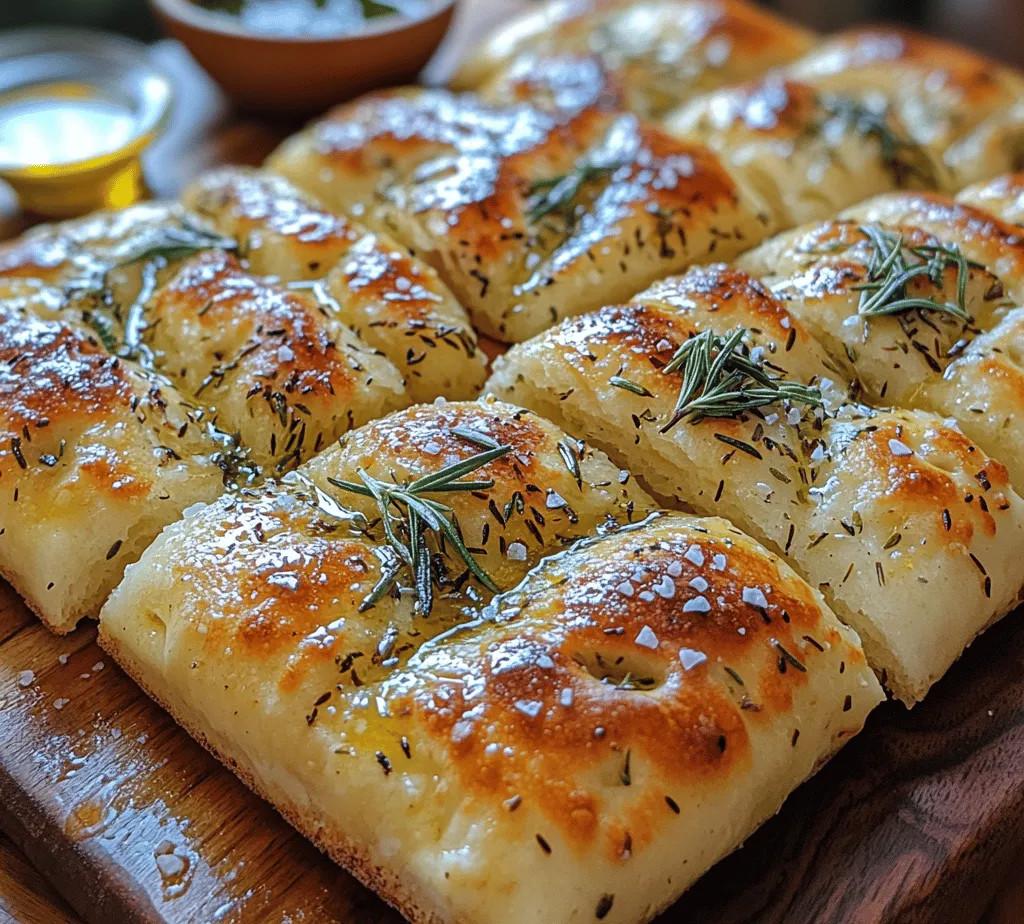
Preheat your oven to 425°F (220°C) to prepare for baking. Once the oven reaches the desired temperature, place your focaccia on the middle rack. Bake for about 20 to 25 minutes, or until the top is golden brown and the edges are crispy. Keep an eye on the focaccia during the last few minutes of baking; the aroma should be delightful, and the crust should have a rich, golden hue.
To check for doneness, tap the bottom of the focaccia lightly; it should sound hollow. If it needs a little more time, return it to the oven for an additional 2-3 minutes, but avoid overbaking, as that can lead to a dry texture.
Cooling and Serving Suggestions
Once baked, remove the focaccia from the oven and allow it to cool in the pan for about 10 minutes. This cooling period is crucial as it helps the crust set while keeping the interior soft. Afterward, transfer the focaccia to a wire rack to cool completely. Slicing it while it’s still hot can result in a gummy texture, so patience is key.
Focaccia makes a versatile accompaniment to many dishes. Serve it warm with a drizzle of extra virgin olive oil and balsamic vinegar for dipping, or pair it with a hearty soup or salad. It can also be used for sandwiches or enjoyed on its own as a snack.
For storage, keep any leftover focaccia in an airtight container at room temperature for up to 2 days. If you want to extend its freshness, you can freeze it. Wrap it tightly in plastic wrap and aluminum foil, and it will keep well for up to 3 months. When ready to enjoy, thaw at room temperature and reheat in the oven for a few minutes.
Health Benefits of Homemade Bread
Baking at home provides several nutritional advantages over store-bought bread. You have complete control over the ingredients, allowing you to choose high-quality whole grains, fresh herbs, and healthy oils. Homemade focaccia can be lower in preservatives and additives, making it a healthier option for you and your family.
Freshly baked bread also offers the opportunity to incorporate more nutritious ingredients. You can experiment with whole wheat flour or add seeds and grains to boost the fiber content. The aromatic garlic and herbs not only enhance the flavor but also offer additional health benefits, such as antioxidants and anti-inflammatory properties.
Conclusion
Making rustic roasted garlic and herb focaccia is more than just a recipe; it’s an experience that brings joy and satisfaction. The process of mixing, kneading, and waiting for the dough to rise allows for a connection to the age-old tradition of bread-making. With each step, you’re creating something unique and flavorful that can be shared with family and friends.
Don’t hesitate to experiment with different flavors—try adding sun-dried tomatoes, olives, or various herbs to create your custom version of focaccia. The versatility of this bread means that there’s no limit to the combinations you can create.
In the end, the satisfaction of pulling a beautifully risen loaf of focaccia from the oven, with its golden crust and inviting aroma, is a reward in itself. Homemade bread not only nourishes the body but also brings people together, creating memories around the dining table. So roll up your sleeves, gather your ingredients, and embark on this delightful culinary journey!