Introduction
Classic apple pie is not just a dessert; it’s a nostalgic experience that evokes warmth and comfort. With its flaky crust and fragrant spiced apple filling, this beloved dish has been a staple in homes for generations. In this article, we will explore the art of creating a perfect classic apple pie, from selecting the right apples to baking techniques that ensure a golden crust. Whether you’re a seasoned baker or a novice, this comprehensive guide will help you master this timeless recipe.
Ingredients
– 2 ½ cups all-purpose flour
– 1 teaspoon salt
– 1 tablespoon granulated sugar
– 1 cup unsalted butter, cold and cubed
– 6 to 8 tablespoons ice water
– 6 to 8 medium apples (a mix of Granny Smith and Honeycrisp recommended)
– ¾ cup granulated sugar (adjust to taste)
– 1 teaspoon ground cinnamon
– ¼ teaspoon ground nutmeg
– 1 tablespoon lemon juice
– 2 tablespoons unsalted butter, for dotting
– 1 egg, beaten (for egg wash)
Instructions
1. In a large mixing bowl, combine the flour, salt, and sugar, and mix well.
2. Add the cold, cubed butter to the flour mixture. Using a pastry cutter or your fingers, work the butter into the flour until the mixture resembles coarse crumbs.
3. Gradually add ice water, one tablespoon at a time, mixing until the dough just comes together. Avoid overworking the dough.
4. Divide the dough in half, shape into disks, wrap in plastic wrap, and refrigerate for at least 1 hour.
5. While the dough chills, prepare the apple filling. Peel, core, and slice the apples into thin wedges.
6. In a large bowl, combine the sliced apples with sugar, cinnamon, nutmeg, and lemon juice. Toss until the apples are evenly coated.
7. Preheat your oven to 425°F (220°C).
8. Roll out one disk of dough on a floured surface to fit a 9-inch pie plate. Transfer the rolled dough to the pie plate and trim the edges.
9. Fill the pie crust with the apple mixture, mounding it slightly in the center, and dot with small pieces of butter.
10. Roll out the second disk of dough to cover the pie. Cut slits for ventilation or create a lattice top if desired. Trim and crimp the edges to seal.
11. Brush the top crust with the beaten egg for a golden finish.
12. Bake the pie in the preheated oven for 15 minutes. Reduce the temperature to 350°F (175°C) and continue baking for 35 to 45 minutes, or until the apples are tender and the crust is golden brown.
Understanding the Ingredients
The Essential Components of a Classic Apple Pie
Each ingredient plays a significant role in achieving the perfect classic apple pie.
– All-purpose flour: This forms the foundation of the crust, providing structure.
– Unsalted butter: Essential for richness and flakiness, cold butter is crucial for creating a tender crust.
– Apples: The star ingredient, with varieties like Granny Smith and Honeycrisp offering a balance of tartness and sweetness.
– Sugar: Used to balance the sweetness of the apples and enhance their natural flavor.
– Spices: Cinnamon and nutmeg add warmth and depth, elevating the flavor profile of the filling.
– Lemon juice: Brightens the apple filling, adding a refreshing contrast to the sweetness.
Preparing the Crust
Creating the Perfect Pie Crust
The crust is pivotal to a classic apple pie, and mastering its preparation is key to achieving that flaky texture.
– Mixing dry ingredients: Start with flour, salt, and sugar, ensuring they are well combined to create an even base.
– Incorporating cold butter: It’s vital to keep the butter cold to prevent it from melting into the flour before baking, which would result in a tough crust.
– Adding ice water: Add just enough water to bring the dough together without making it sticky; the dough should be moist but not wet.
– Chilling the dough: Refrigerating the dough relaxes the gluten, making it easier to roll out and resulting in a tender crust.
Crafting the Apple Filling
Building Flavor in the Apple Filling
The filling is where the magic truly happens, and careful preparation can elevate your apple pie to new heights.
– Choosing the right apples: Using a blend of tart and sweet apples, like Granny Smith for tartness and Honeycrisp for sweetness, creates a well-rounded flavor profile. The texture of the apples is also important; firmer apples hold their shape better during baking, resulting in a satisfying bite.
Preparing the Apples
Peeling, Coring, and Slicing Tips
When preparing the apples for your classic apple pie, it is essential to choose the right variety. Granny Smith and Honeycrisp are excellent choices due to their balance of sweetness and tartness. Start by peeling the apples with a vegetable peeler or a paring knife, ensuring you remove all the skin. Next, core the apples using an apple corer or a knife to remove the seeds and stem. Finally, slice the apples into uniform pieces, about 1/4 inch thick. This ensures even cooking and a perfect texture in your pie.
Blending the Filling Ingredients
Achieving the right balance of spices and sweetness is crucial in creating a flavorful apple pie filling. Combine your sliced apples with sugar, cinnamon, nutmeg, and a touch of lemon juice for brightness. Taste the mixture before it rests; you can adjust the sugar depending on the sweetness of your apples. A hint of vanilla extract can also elevate the flavor profile. The goal is to create a filling that is sweet but not overpowering, allowing the natural apple flavor to shine through.
Allowing the Mixture to Rest
Letting the apple mixture rest for at least 30 minutes is a critical step in the pie-making process. This resting period allows the apples to release their juices and the flavors to meld together beautifully. As the mixture sits, the sugar will draw out moisture from the apples, creating a delicious syrup that will soak into the crust during baking.
Assembling the Pie
Step-by-Step Assembly Techniques
Assembling your pie correctly will ensure a beautiful presentation and a delicious outcome.
Rolling Out the Dough
When rolling out your pie dough, dust your work surface and rolling pin with flour to prevent sticking. Aim for an even thickness of about 1/8 inch. If you notice cracks forming, gently press the dough together with your fingers.
Placing the Bottom Crust
Gently place the rolled-out dough into your pie pan, ensuring it fits snugly. It should hang slightly over the edges, which will allow you to crimp it later. Use your fingers to press the dough into the corners and remove any air pockets.
Filling the Pie
Carefully spoon the apple mixture into the crust, ensuring an even distribution. Avoid overfilling, as the apples will shrink as they bake. If desired, you can sprinkle a bit of flour over the filling to help absorb excess juice.
Lattice vs. Solid Top Crust
For a traditional look, consider crafting a lattice top crust. Cut the rolled-out dough into strips and weave them over the filling, creating a crisscross pattern. Alternatively, a solid top crust can be used, which can be cut with slits to allow steam to escape. Both options provide a delightful finish to your pie.
Baking the Pie
Perfecting the Baking Process
The baking process is crucial for achieving a delicious apple pie.
Preheating the Oven
Start by preheating your oven to 425°F (220°C). This high temperature will help set the crust quickly, preventing it from becoming soggy.
Baking Techniques
Begin baking the pie at this temperature for the first 15-20 minutes. This initial blast of heat helps the crust rise and develop a golden color. After that, reduce the temperature to 350°F (175°C) and continue baking for an additional 30-40 minutes.
Monitoring Doneness
Look for visual cues to determine when your pie is done. The crust should be golden brown, and you should see bubbling juices from the apple filling. If the edges brown too quickly, cover them with foil to prevent burning.
Cooling the Pie
Once baked, allow the pie to cool on a wire rack for at least 2 hours. This cooling period is vital as it allows the filling to set, making it easier to slice and serve.
Serving Suggestions
Enhancing Your Apple Pie Experience
To elevate your classic apple pie, consider these serving suggestions.
Ideal Accompaniments
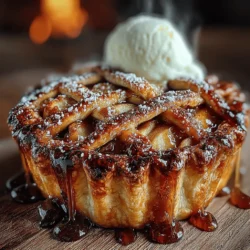
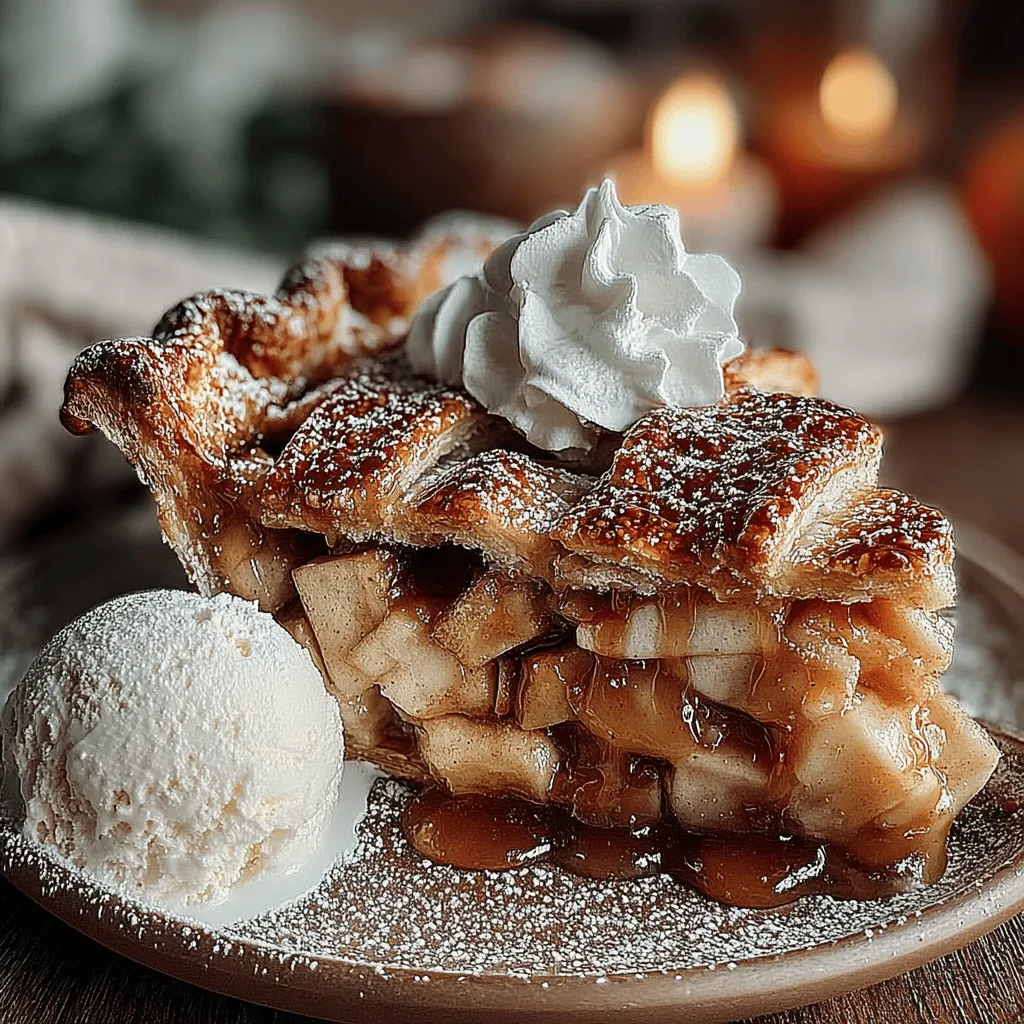
A scoop of vanilla ice cream or a dollop of whipped cream complements the warm spices in the pie beautifully. For added flavor, consider drizzling caramel sauce over the top.
Presentation Tips
Serving the pie warm enhances its flavors, but it can also be enjoyed at room temperature. For a festive touch, consider garnishing each slice with a sprinkle of cinnamon or a few apple slices.
Conclusion
Classic apple pie is a celebration of simple ingredients and cherished traditions. By following this detailed guide, you can create a pie that not only tastes delicious but also brings people together. As you enjoy each slice, you’ll appreciate the love and effort that went into making this timeless dessert. Whether for a holiday gathering or a casual family dinner, your classic apple pie will surely be a hit, leaving everyone with a sweet memory to savor.