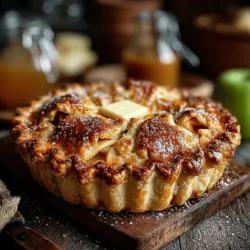
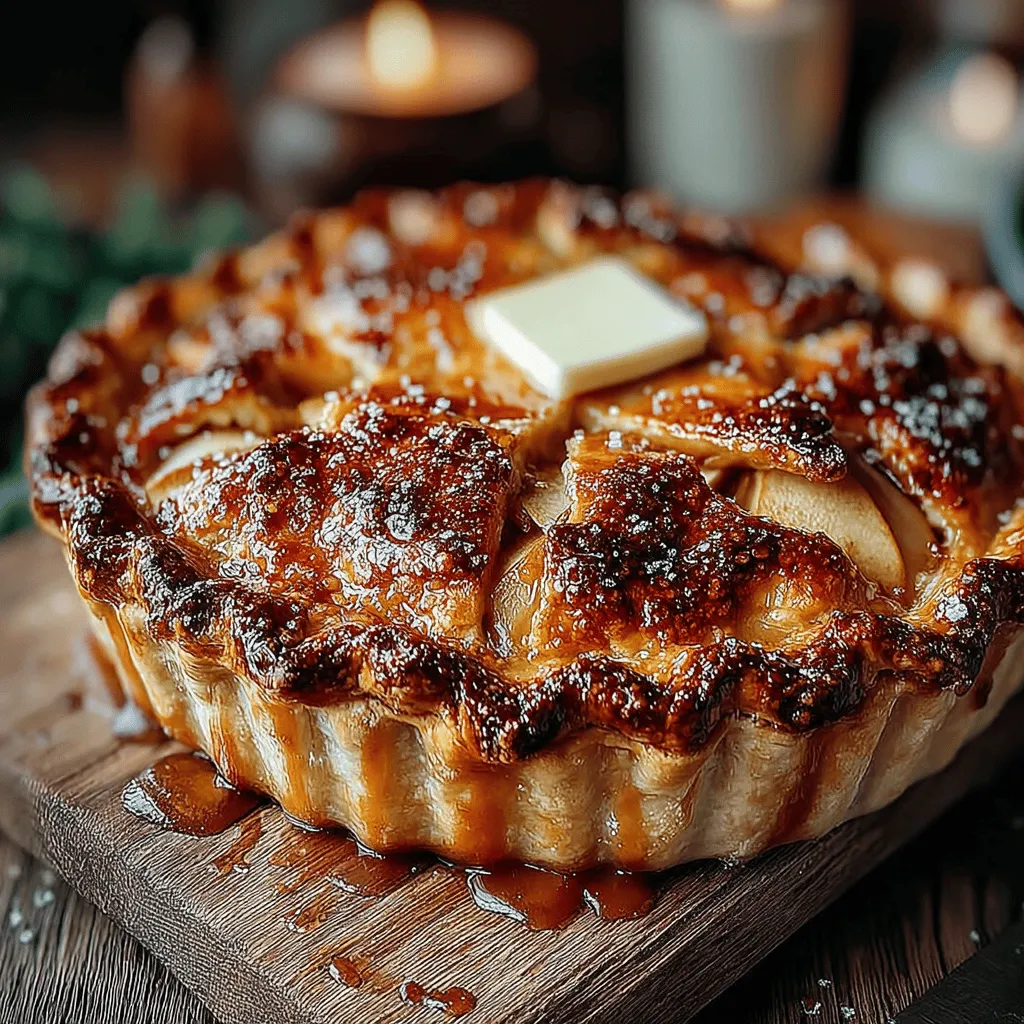
Introduction
Grandma’s Timeless Apple Pie is not just a dessert; it is a cherished tradition that evokes nostalgia and warmth. This classic recipe captures the essence of home baking, combining the tartness of Granny Smith apples with a perfectly flaky crust. In this article, we will delve into the rich history of apple pie, explore the ingredients that make this recipe special, and guide you through the steps to create your own masterpiece. Whether you are a seasoned baker or a novice in the kitchen, this guide will help you bake a pie that is sure to impress family and friends.
Ingredients
– 2 ½ cups all-purpose flour
– 1 teaspoon salt
– 1 tablespoon granulated sugar
– 1 cup unsalted butter, chilled and cubed
– 6 to 8 tablespoons ice water
– 6 to 8 Granny Smith apples, peeled, cored, and sliced
– ¾ cup granulated sugar (for filling)
– 2 tablespoons all-purpose flour (for filling)
– 1 teaspoon ground cinnamon
– ¼ teaspoon ground nutmeg
– 1 tablespoon lemon juice
– 1 tablespoon butter, to dot
– 1 egg, beaten (for egg wash)
Instructions
1. In a large mixing bowl, combine flour, salt, and sugar for the pie crust.
2. Cut in the chilled butter using a pastry cutter or fork until the mixture resembles coarse crumbs.
3. Gradually add ice water, one tablespoon at a time, mixing until the dough comes together.
4. Divide the dough into two equal parts, shape into discs, wrap in plastic wrap, and refrigerate for at least 1 hour.
5. Preheat your oven to 425°F (220°C).
6. In another bowl, combine the sliced apples, sugar, flour, cinnamon, nutmeg, and lemon juice. Toss to coat the apples evenly and set aside.
7. Roll out one disc of chilled dough on a floured surface to fit your pie pan. Transfer it to the pan and trim the edges.
8. Fill the crust with the apple mixture, dot with small pieces of butter, and then roll out the second dough disc.
9. Place the second crust over the filling, seal the edges, and make slits in the top to allow steam to escape.
10. Brush the top crust with the beaten egg for a golden finish.
11. Bake in the preheated oven for 15 minutes, then reduce the temperature to 350°F (175°C) and continue baking for an additional 35-45 minutes, or until the apples are tender and the crust is golden brown.
The History of Apple Pie
Apple pie has a rich and storied history that dates back to the early days of civilization. The first recorded apple pie recipe comes from England in the 1381, showcasing a pastry filled with apples, spices, and sweeteners. Over the centuries, apple pie has evolved, gaining popularity in various cultures around the world. In the United States, apple pie became a symbol of comfort and home, often associated with family gatherings and celebrations. Its cultural significance is so profound that the phrase “as American as apple pie” underscores its status as a beloved staple of American cuisine.
Understanding the Ingredients
A deep dive into the ingredients is essential for mastering Grandma’s Timeless Apple Pie.
The Pie Crust
The foundation of any great pie is its crust.
– All-purpose flour is crucial for achieving the right texture. Its moderate protein content allows for a perfect balance between tenderness and structure.
– Butter choice matters greatly for flavor and flakiness. Using high-fat butter results in a richer taste and a more tender crust.
– Salt and sugar enhance the overall flavor, balancing the sweetness of the filling while adding depth to the crust.
The Apple Filling
The filling is the heart of the pie.
– Granny Smith apples are the ideal choice due to their tartness and firm texture, which holds up well during baking.
– The balance of spices such as cinnamon and nutmeg adds warmth and complexity to the apple filling.
– Flour and lemon juice help to thicken the filling and brighten the flavor, ensuring a delightful taste in every bite.
Preparing the Perfect Pie Crust
Creating a perfect pie crust requires attention to detail and technique.
Mixing Dry Ingredients
Start by mixing dry ingredients: flour, salt, and sugar. This ensures even distribution of flavors and helps in achieving a consistent texture.
The Art of Cutting in Butter
Cutting in butter is an essential step. Use a pastry cutter or your fingers to incorporate the butter into the flour mixture until it resembles coarse crumbs. This technique creates pockets of fat that will result in a flaky crust when baked.
Achieving the Right Dough Consistency
Gradually add ice water, mixing until the dough comes together. The ice water keeps the butter cold, which is key to a flaky texture.
Chilling the Dough
Chilling the dough is essential. It allows the gluten to relax, making the dough easier to roll out and preventing shrinkage during baking.
Tips for Successful Rolling Out
When rolling out the dough, ensure your work surface is well-floured to prevent sticking. Roll from the center outward, turning the dough frequently for an even thickness.
Crafting the Apple Filling
Selecting and preparing your apples is a critical step in achieving the perfect pie.
Tips for Peeling, Coring, and Slicing
Choose firm Granny Smith apples for their tart flavor and sturdy texture. Use a sharp peeler for easy peeling, a corer for removing the core, and a knife or mandoline for uniform slicing. This ensures that the apples cook evenly and provide a consistent texture in your pie.
Tips for Success
Marinating the Apples
Marinating your apples is a crucial step that enhances the flavor profile of your filling. Allowing the apples to sit in sugar and spices for at least 30 minutes lets them release their juices, which helps to create a more cohesive filling. This process also softens the apples slightly, ensuring they cook evenly during baking.
Mixing the Filling Ingredients
When mixing your filling ingredients, make sure to evenly distribute the sugar, spices, and flour. This ensures that every bite of apple has a balanced flavor. Use a gentle hand when mixing to avoid breaking the apple slices, which can lead to a mushy filling.
Balancing Flavors for the Perfect Taste
Experimenting with spices can elevate your apple pie. Consider adjusting the amounts of cinnamon, nutmeg, or even adding a pinch of allspice for a unique twist. Balance sweetness with a touch of acidity by adding lemon juice or zest, enhancing the overall flavor of the pie.
Assembling the Pie
Rolling Out the Crust: Techniques for Success
When rolling out your pie crust, use a generous amount of flour on your work surface and rolling pin to prevent sticking. Roll from the center outwards, and rotate the dough occasionally to maintain an even thickness.
Filling the Pie: Distribution and Layering
For an even distribution of apples, layer the slices in a circular pattern, starting from the outside and working your way inward. This not only looks appealing but also ensures that the apples cook uniformly. Don’t forget to dot the filling with small pieces of butter, which will melt and enrich the flavor as it bakes.
Adding the Top Crust
To seal the edges of your pie, use a fork or your fingers to crimp the edges, ensuring a tight seal that keeps the filling from bubbling over. Get creative with the top crust by cutting slits in decorative patterns; this allows steam to escape while adding a charming visual element.
Baking the Pie to Perfection
Understanding Oven Temperatures and Baking Times
Preheating your oven is critical for achieving that golden crust. Start by baking at a high temperature (around 425°F) for the first 15-20 minutes to create a crisp crust, then lower the temperature (to about 350°F) to allow the filling to cook thoroughly without burning the crust.
Signs to Look for When the Pie is Done
Keep an eye on the pie as it bakes. The crust should be a deep golden brown, and you should be able to see bubbling juices through the slits in the top crust. To check the apples, insert a knife through the slits; they should be tender but not mushy.
The Cooling Process: Why Patience is Key
Allow your pie to cool for at least two hours before slicing. This cooling time lets the filling set up, ensuring each slice holds its shape when served. Patience is key to enjoying the perfect slice of apple pie.
Serving Suggestions
Ideal Pairings for Grandma’s Apple Pie
When it comes to serving Grandma’s apple pie, classic accompaniments like a scoop of vanilla ice cream or a dollop of whipped cream are always a hit. These additions enhance the pie’s warm spices and sweet apples.
Creative Serving Ideas
For a fun twist, consider serving the pie à la mode, with a scoop of ice cream placed directly on top of a warm slice. Drizzling caramel sauce over the top adds an extra layer of flavor and sophistication, making it a show-stopping dessert for any occasion.
Conclusion
Baking Grandma’s Timeless Apple Pie is more than just a culinary endeavor; it is an invitation to create lasting memories in the kitchen. The combination of a flaky crust and a spiced apple filling makes for a dessert that is truly timeless. By following this detailed guide, you can honor tradition while also adding your personal touch to a beloved recipe. Whether it’s for a family gathering or a simple weeknight meal, this apple pie will undoubtedly become a staple in your home, bringing joy and comfort to all who taste it.